How to install a metal tip - ArtGlitter
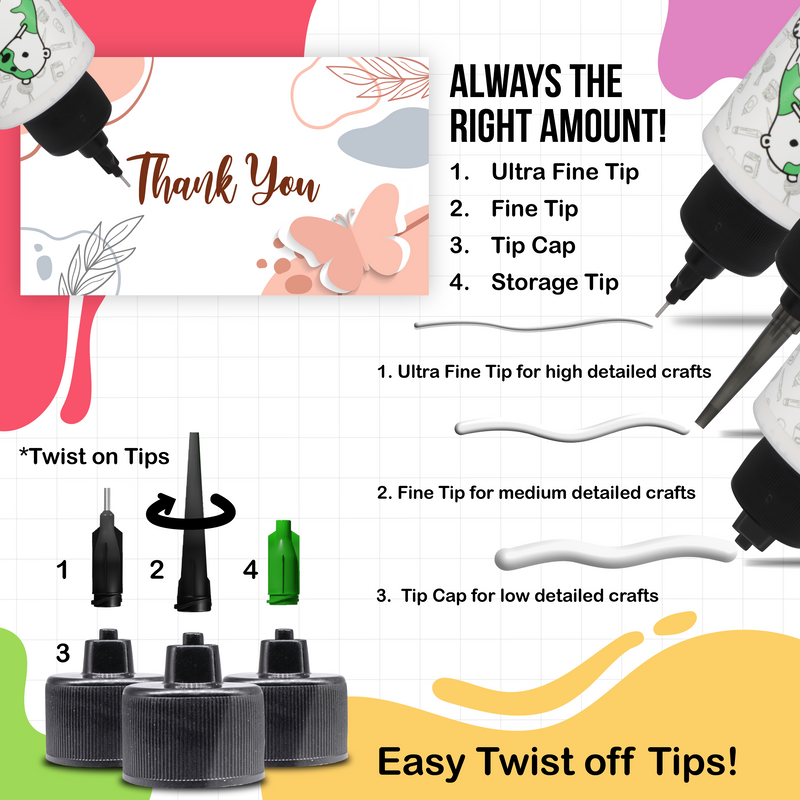
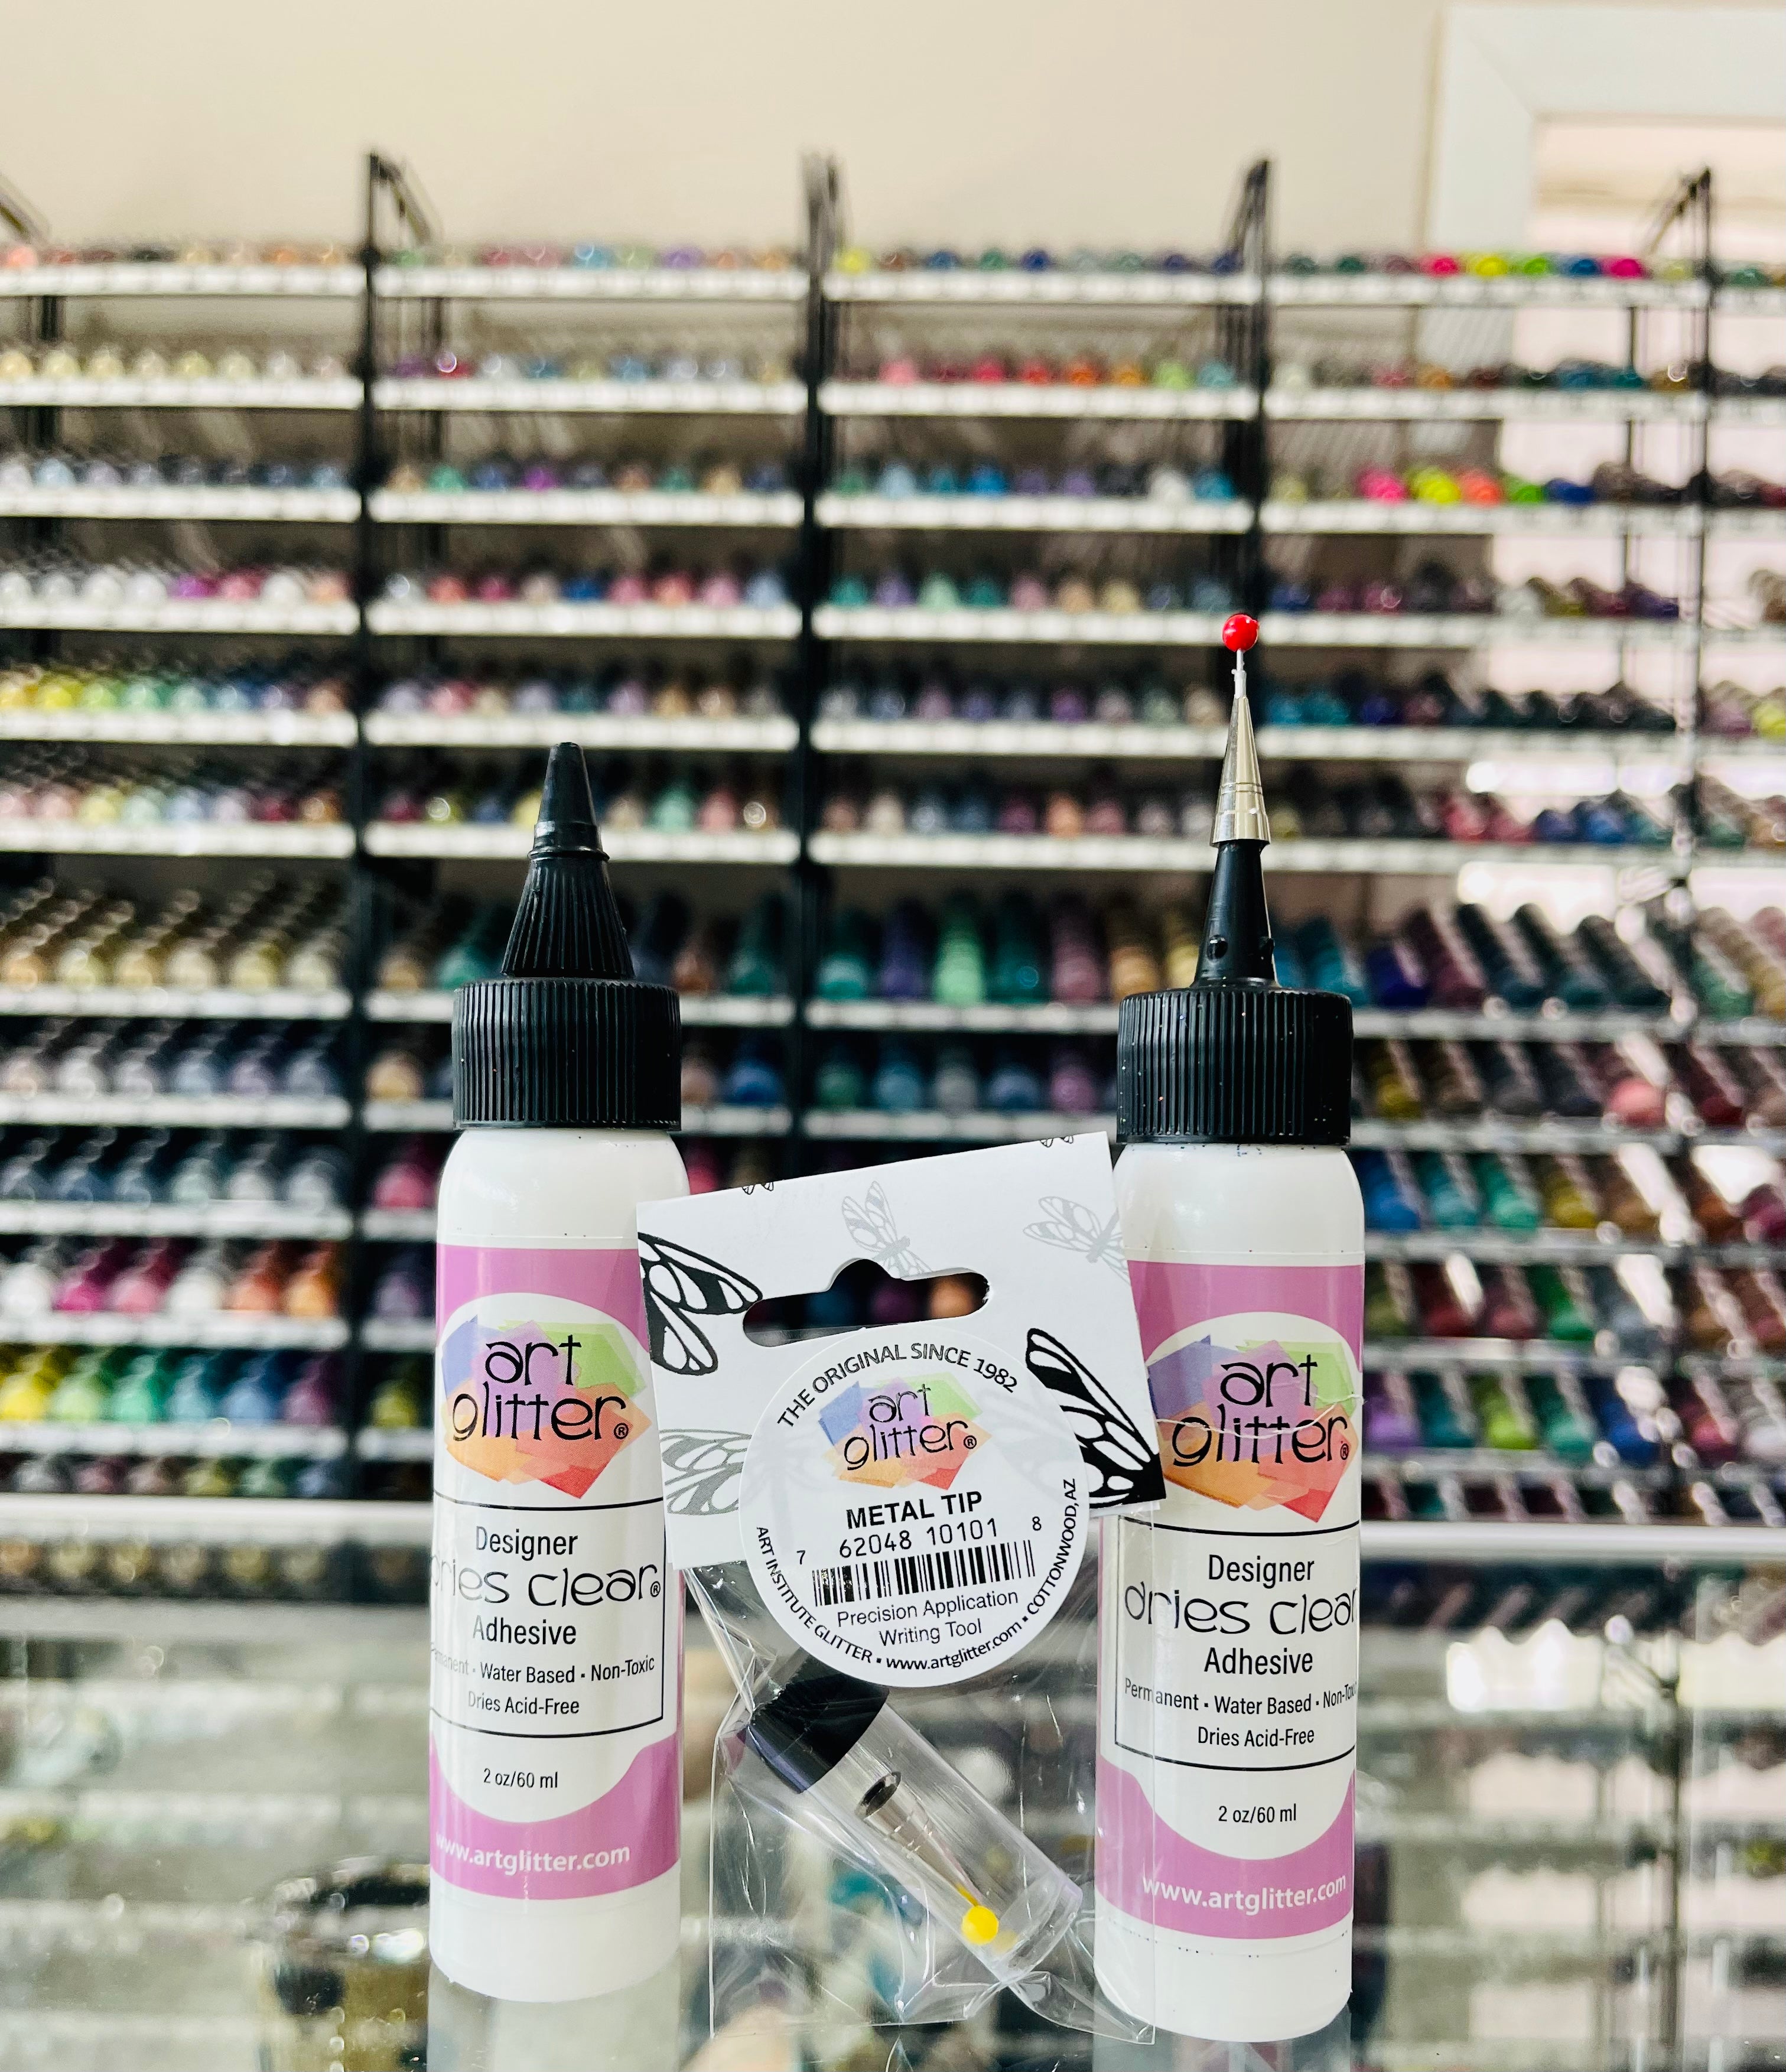
Today I'm going to show you how to install a metal tip on our Designer Dries Clear Adhesive. We get a lot of questions about how to properly install the metal tip. Using the metal tip will give you the precision needed for fine linework in all your crafts. Our metal tip works on all our adhesives. Add the detail you need to all your arts and crafts. Step 1: Remove the entire black cap from the Designer Dries Clear Adhesive. Step 2: Remove the foam disc from the top of your bottle of Designer Dries Clear. Step 3: Replace the black spout on top of your bottle of Designer Dries Clear Adhesive. Step 4: Remove the cover of the black spout on your bottle of Designer Dries Clear. Step 5: Take metal tip and screw onto

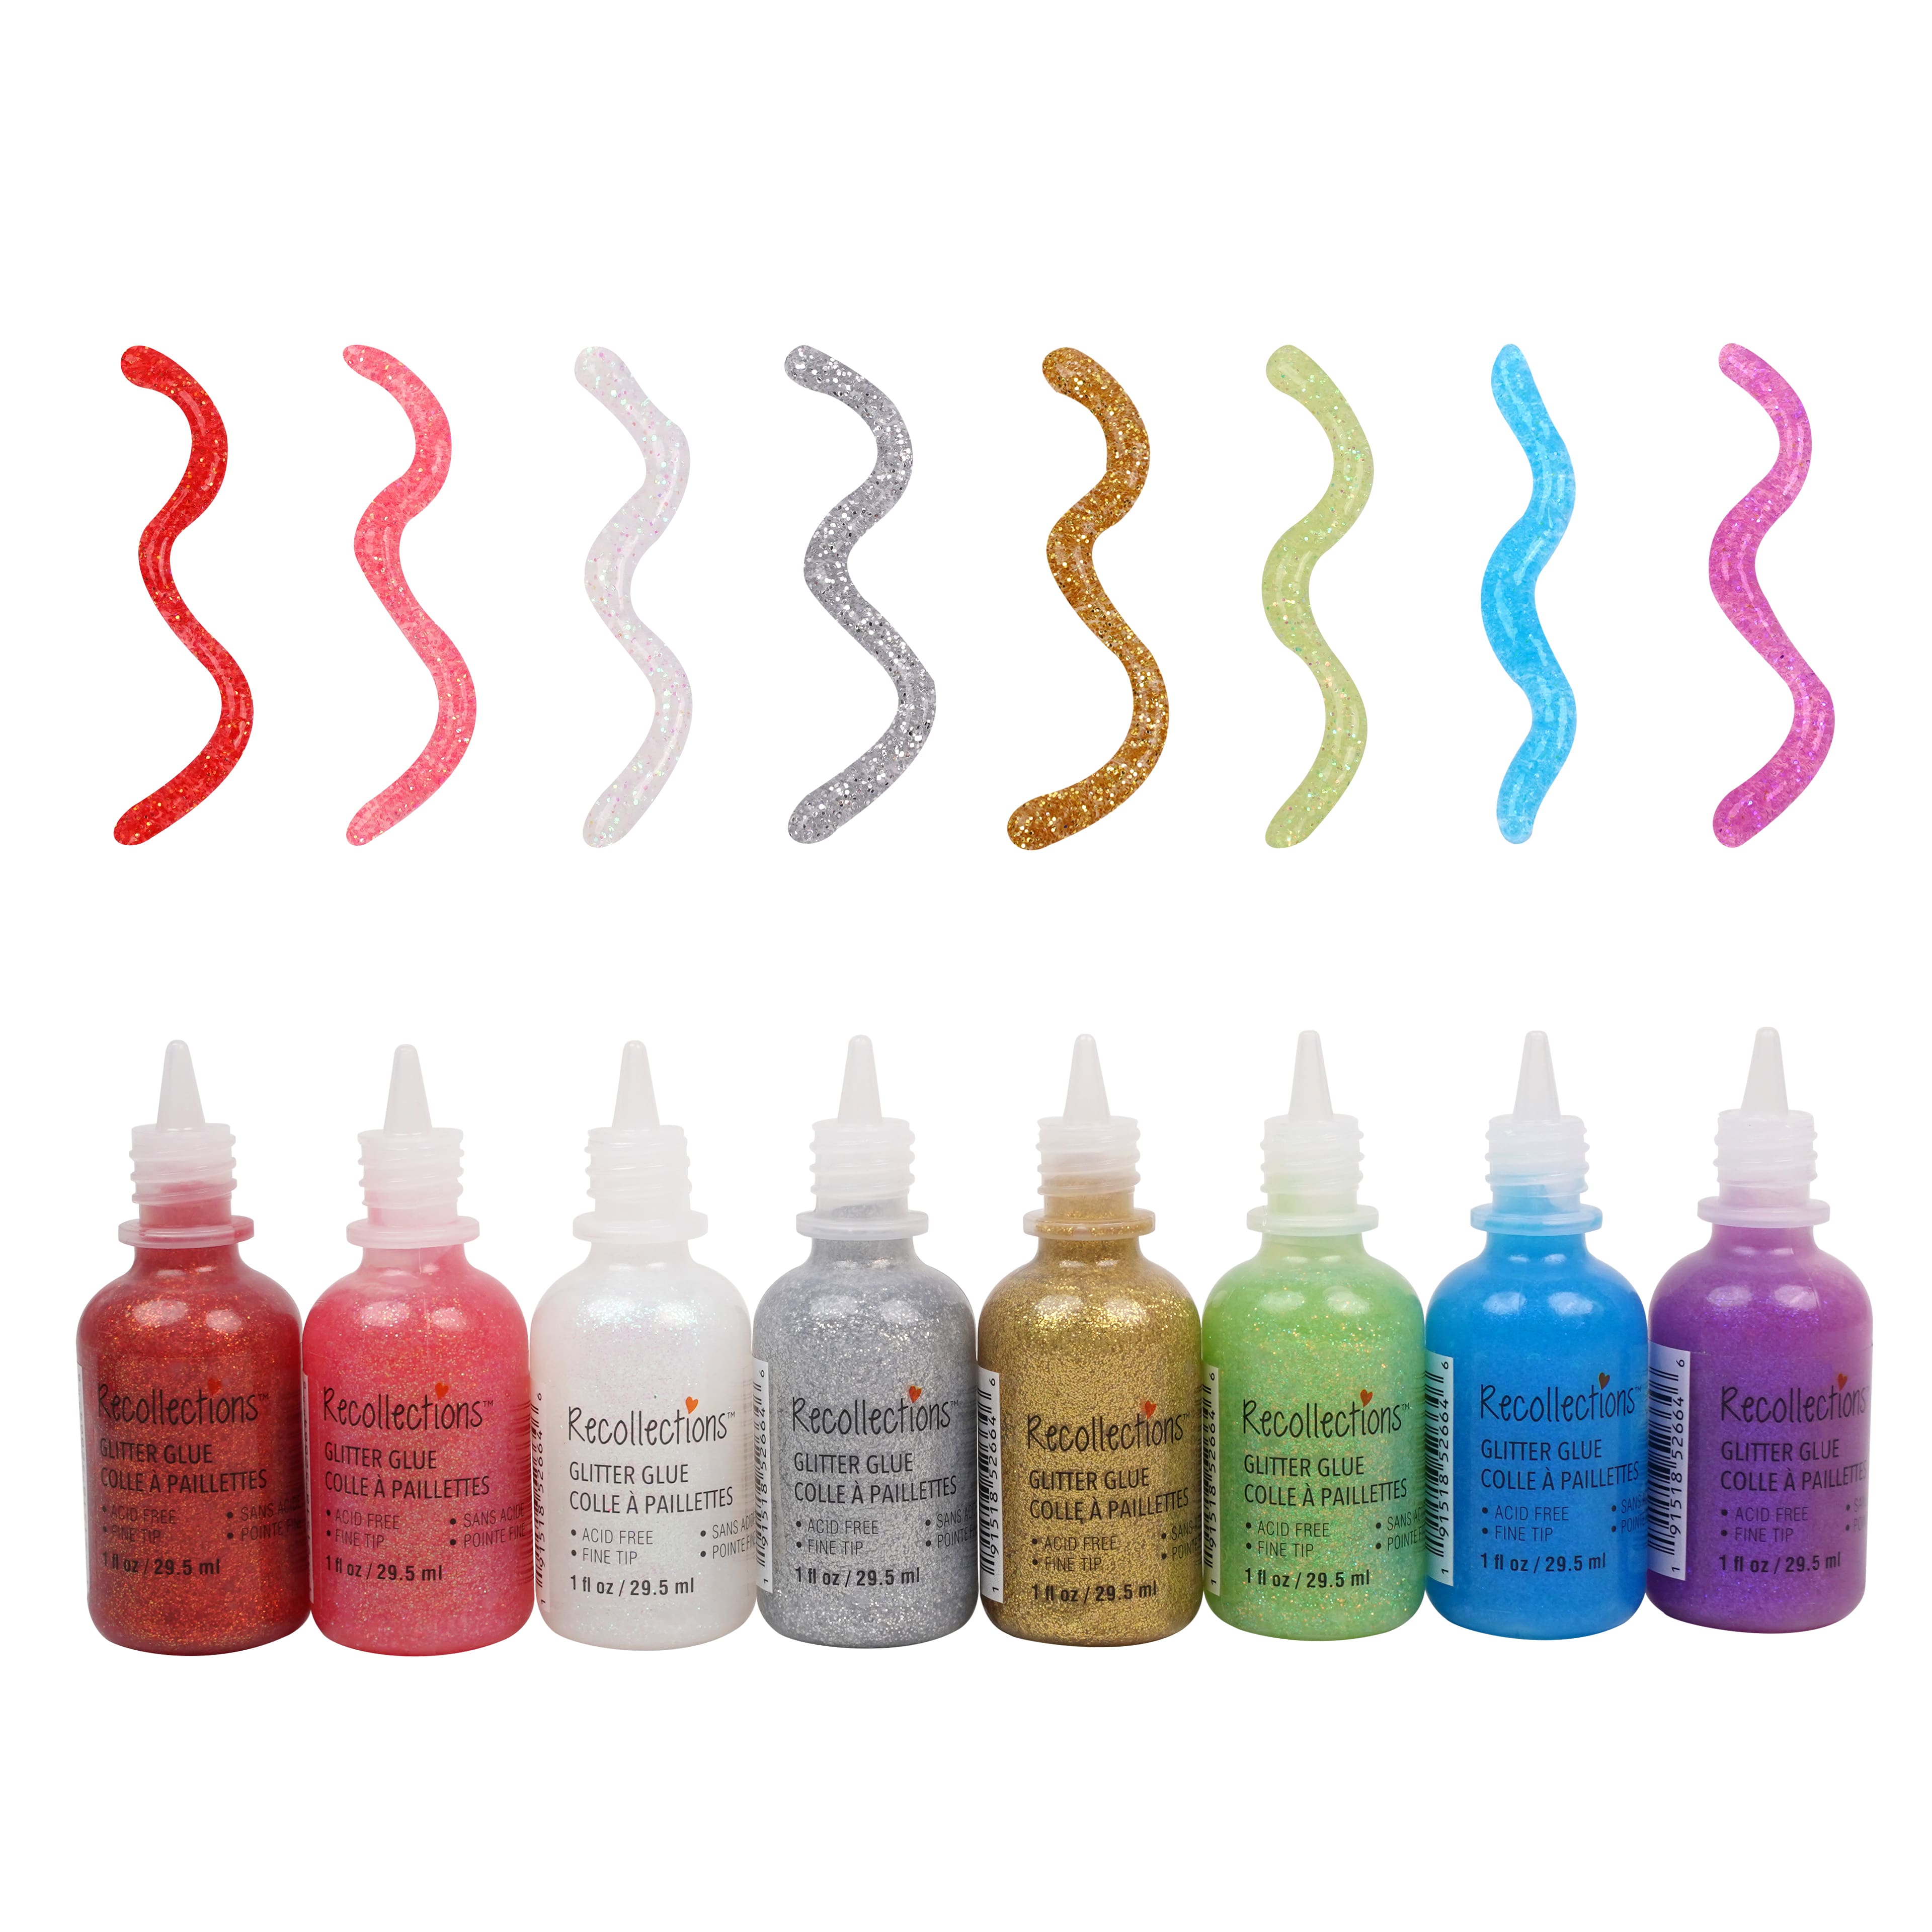
.com: Art Glitter Glue - 4oz with Ultra Fine Metal Tip - Designer Dries Clear Adhesive - Bundled with Moshify 20mL Applicator Bottle and Funnel

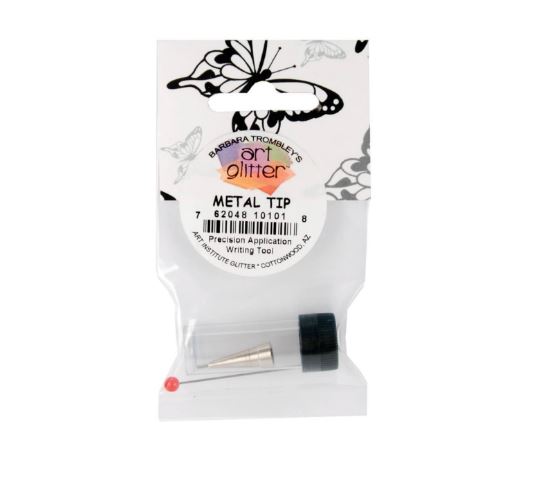
Art Glitter Ultra Fine Metal Tip Attachment Precision Glue Applicator – Simon Says Stamp

Art Glitter Glue Metal Tip w/Stainless Pin – Kreative Kreations

2 in 1 Magnetic Cat Eye Pigment-Topaz – Vettsy
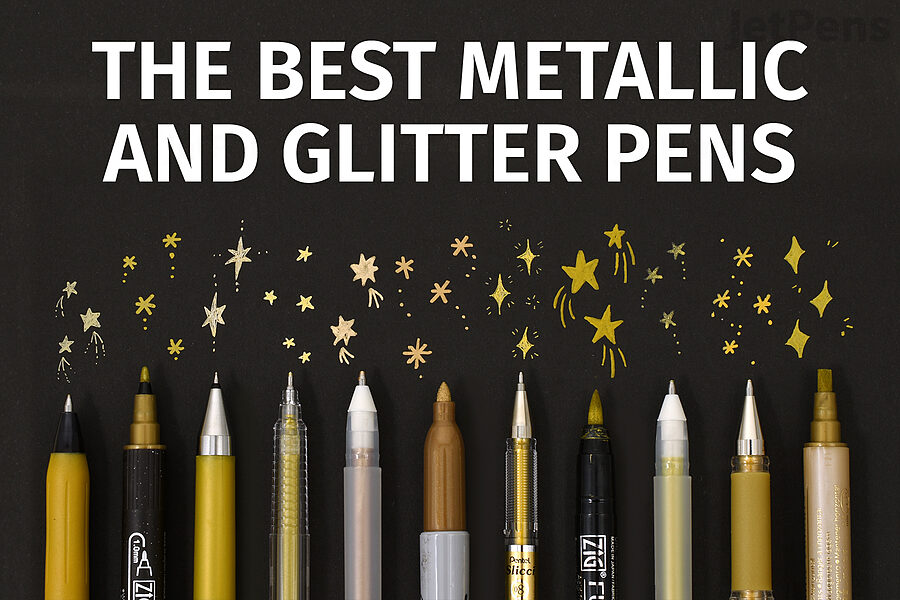
The Best Metallic and Glitter Pens
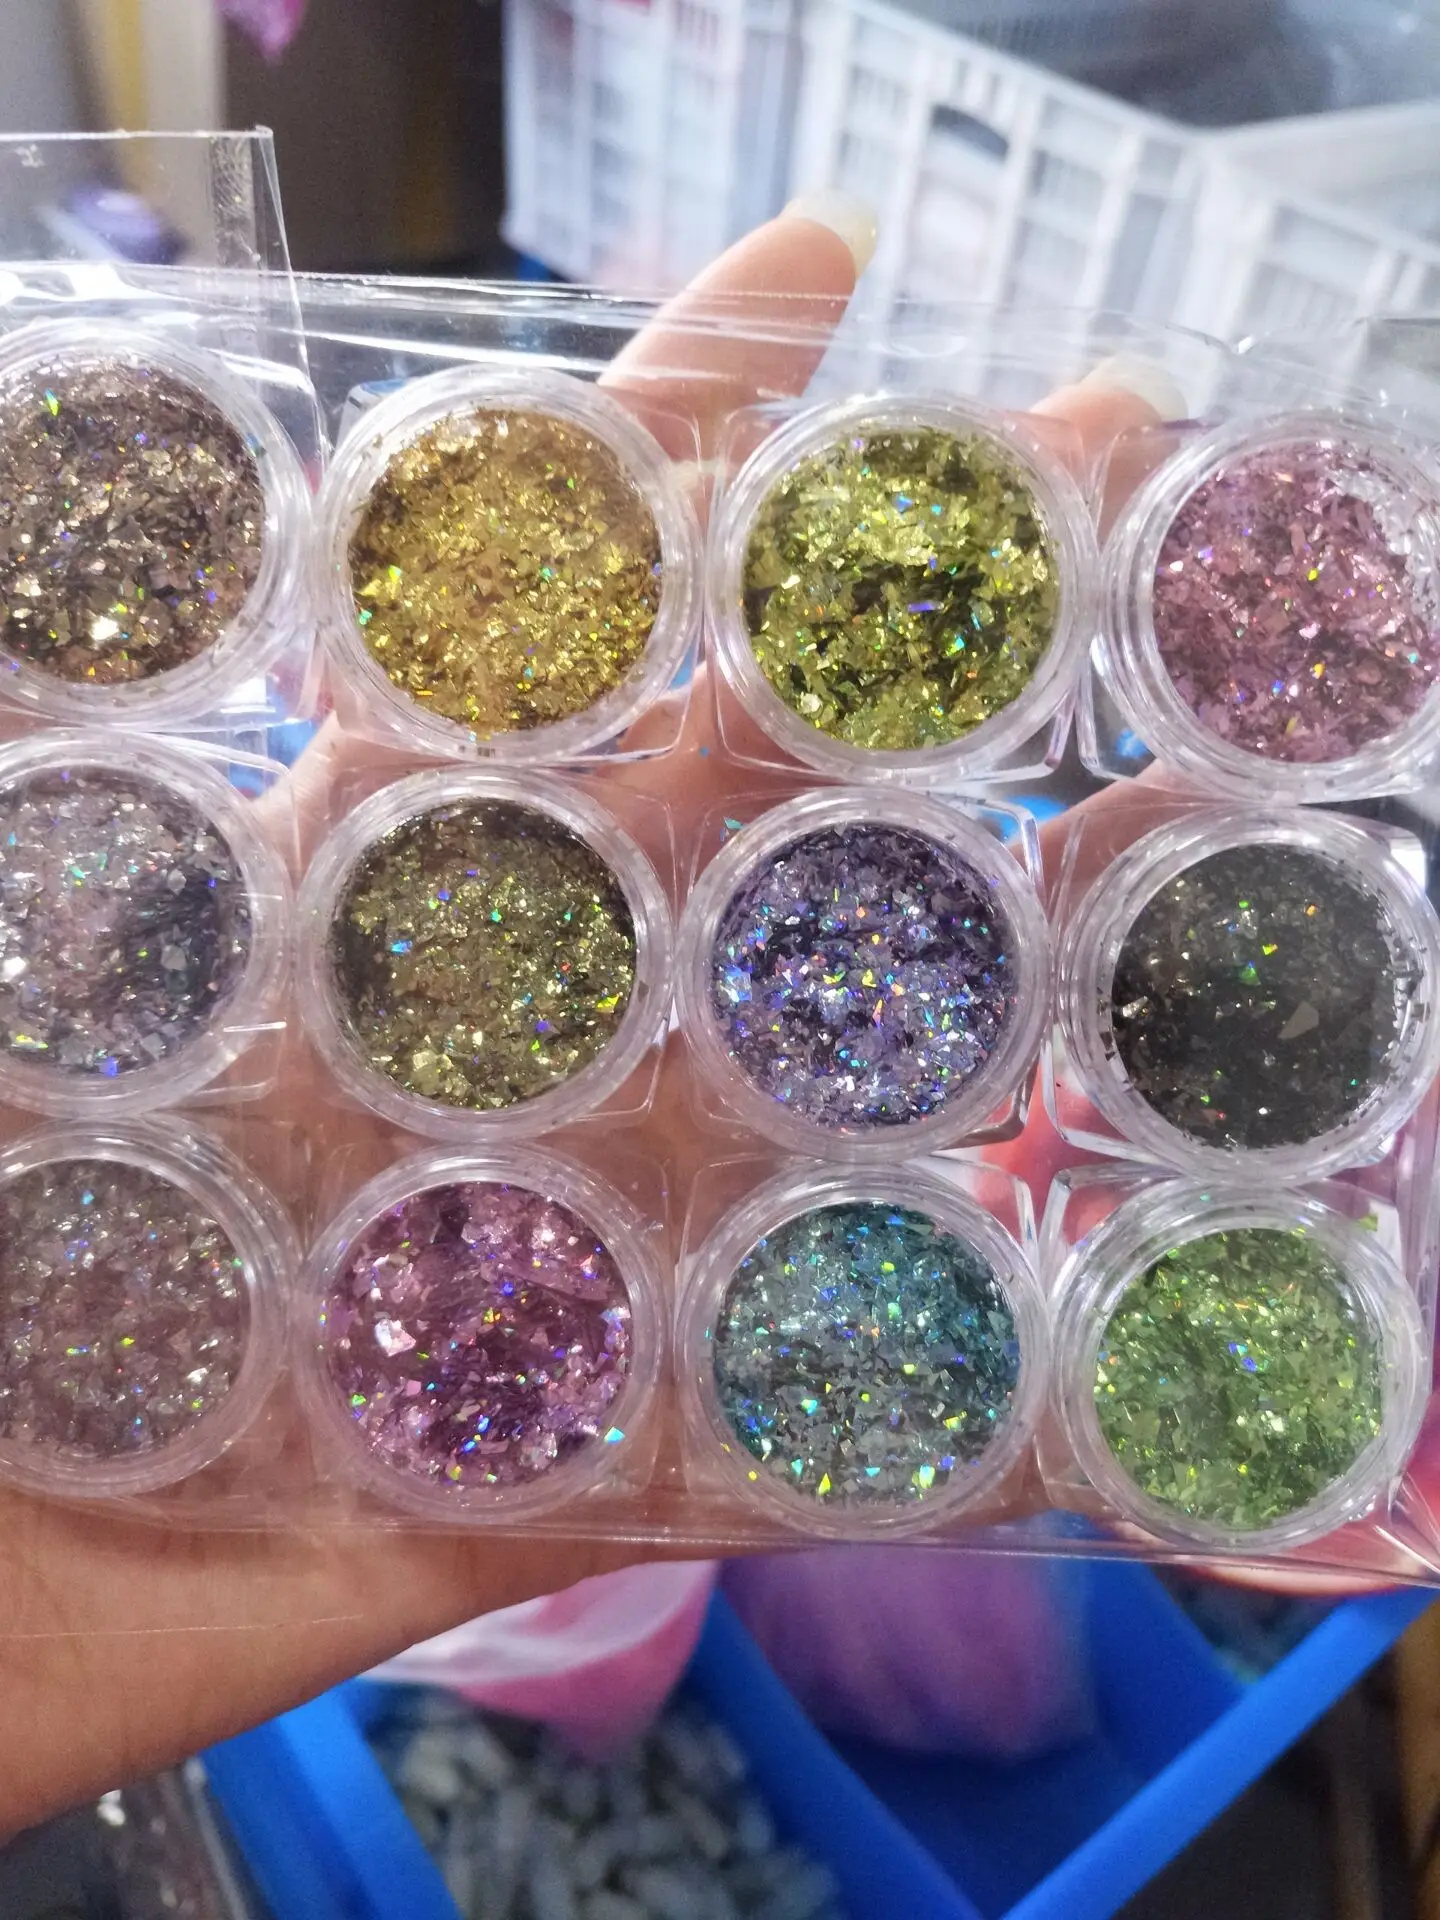
Ultra-thin 12 Jars/set Holo Nail Art Glitter Sequins Exquisite Irregular Paillette Flakes Tips 3D UV Gel Nail Polish Decorations

Stamperia Winter Valley Stationery Gift Set Materials and Cutting Guide Shellie Geigle JS Hobbies and Crafts
How to install a metal tip - ArtGlitter
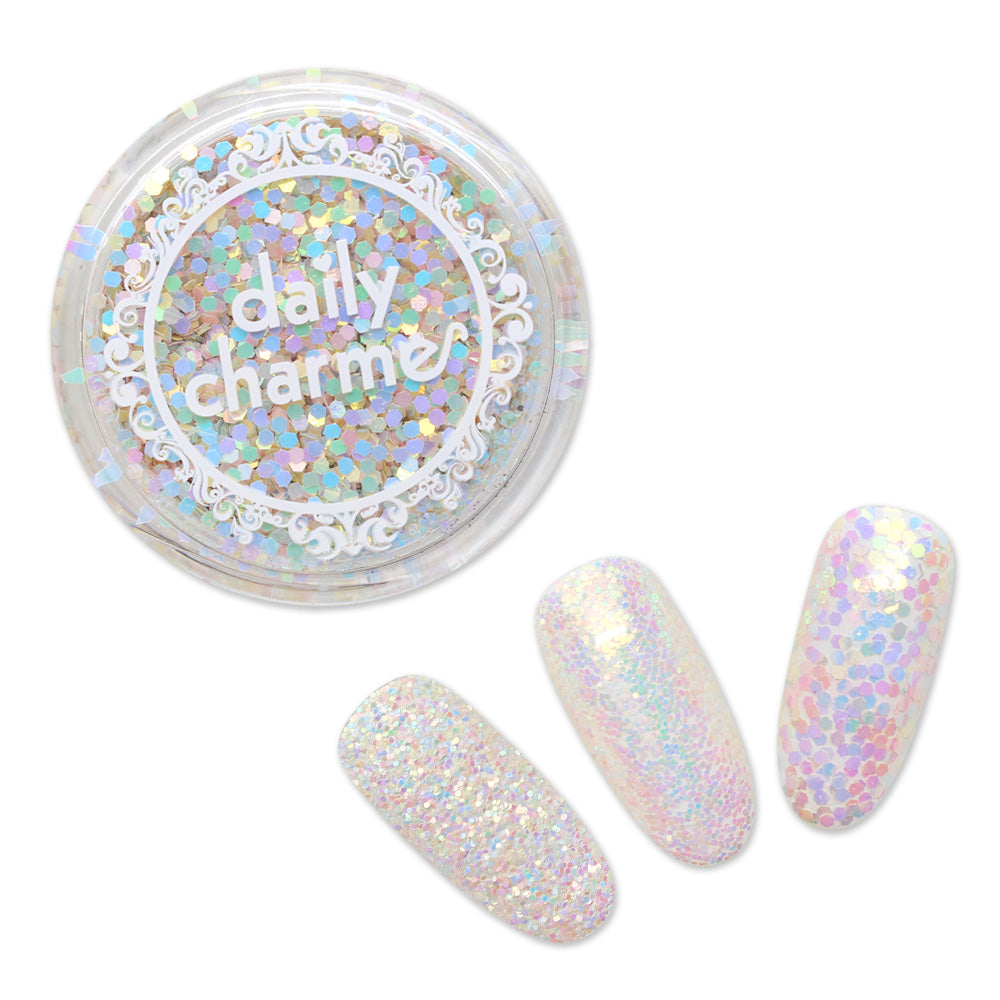
Pastel Iridescent Glitter / Unicorn Magic – Daily Charme
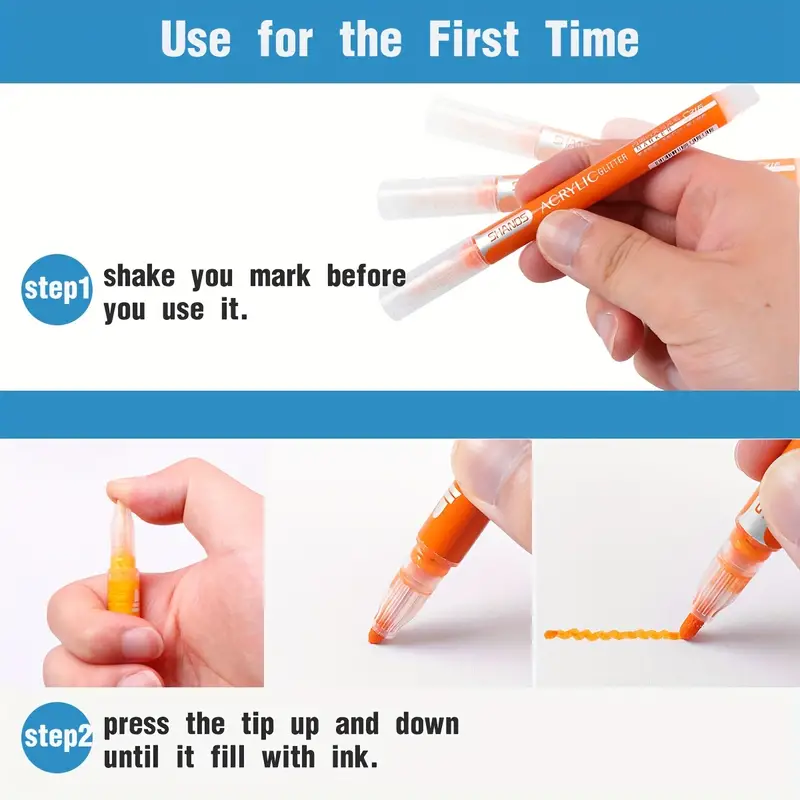
12 Colors Metal Marker Pens Glitter Pens Art Glitter Pens - Temu