Recipe Illustration In Your Bullet Journal Using Acrylograph Pens
Hello friends, Nabaa here from @whimsical.doodles on Instagram. I'm excited today to share a fun spread idea on how to use your journal! If you’re anything like me, you probably have your own share of unused journals that you’re holding (re: hoarding) onto. So in order to change that, I’ve been trying to come up with
Hello friends, Nabaa here from @whimsical.doodles on Instagram. I'm excited today to share a fun spread idea on how to use your journal!
If you’re anything like me, you probably have your own share of unused journals that you’re holding (re: hoarding) onto. So in order to change that, I’ve been trying to come up with ideas on how I can use all my notebooks.
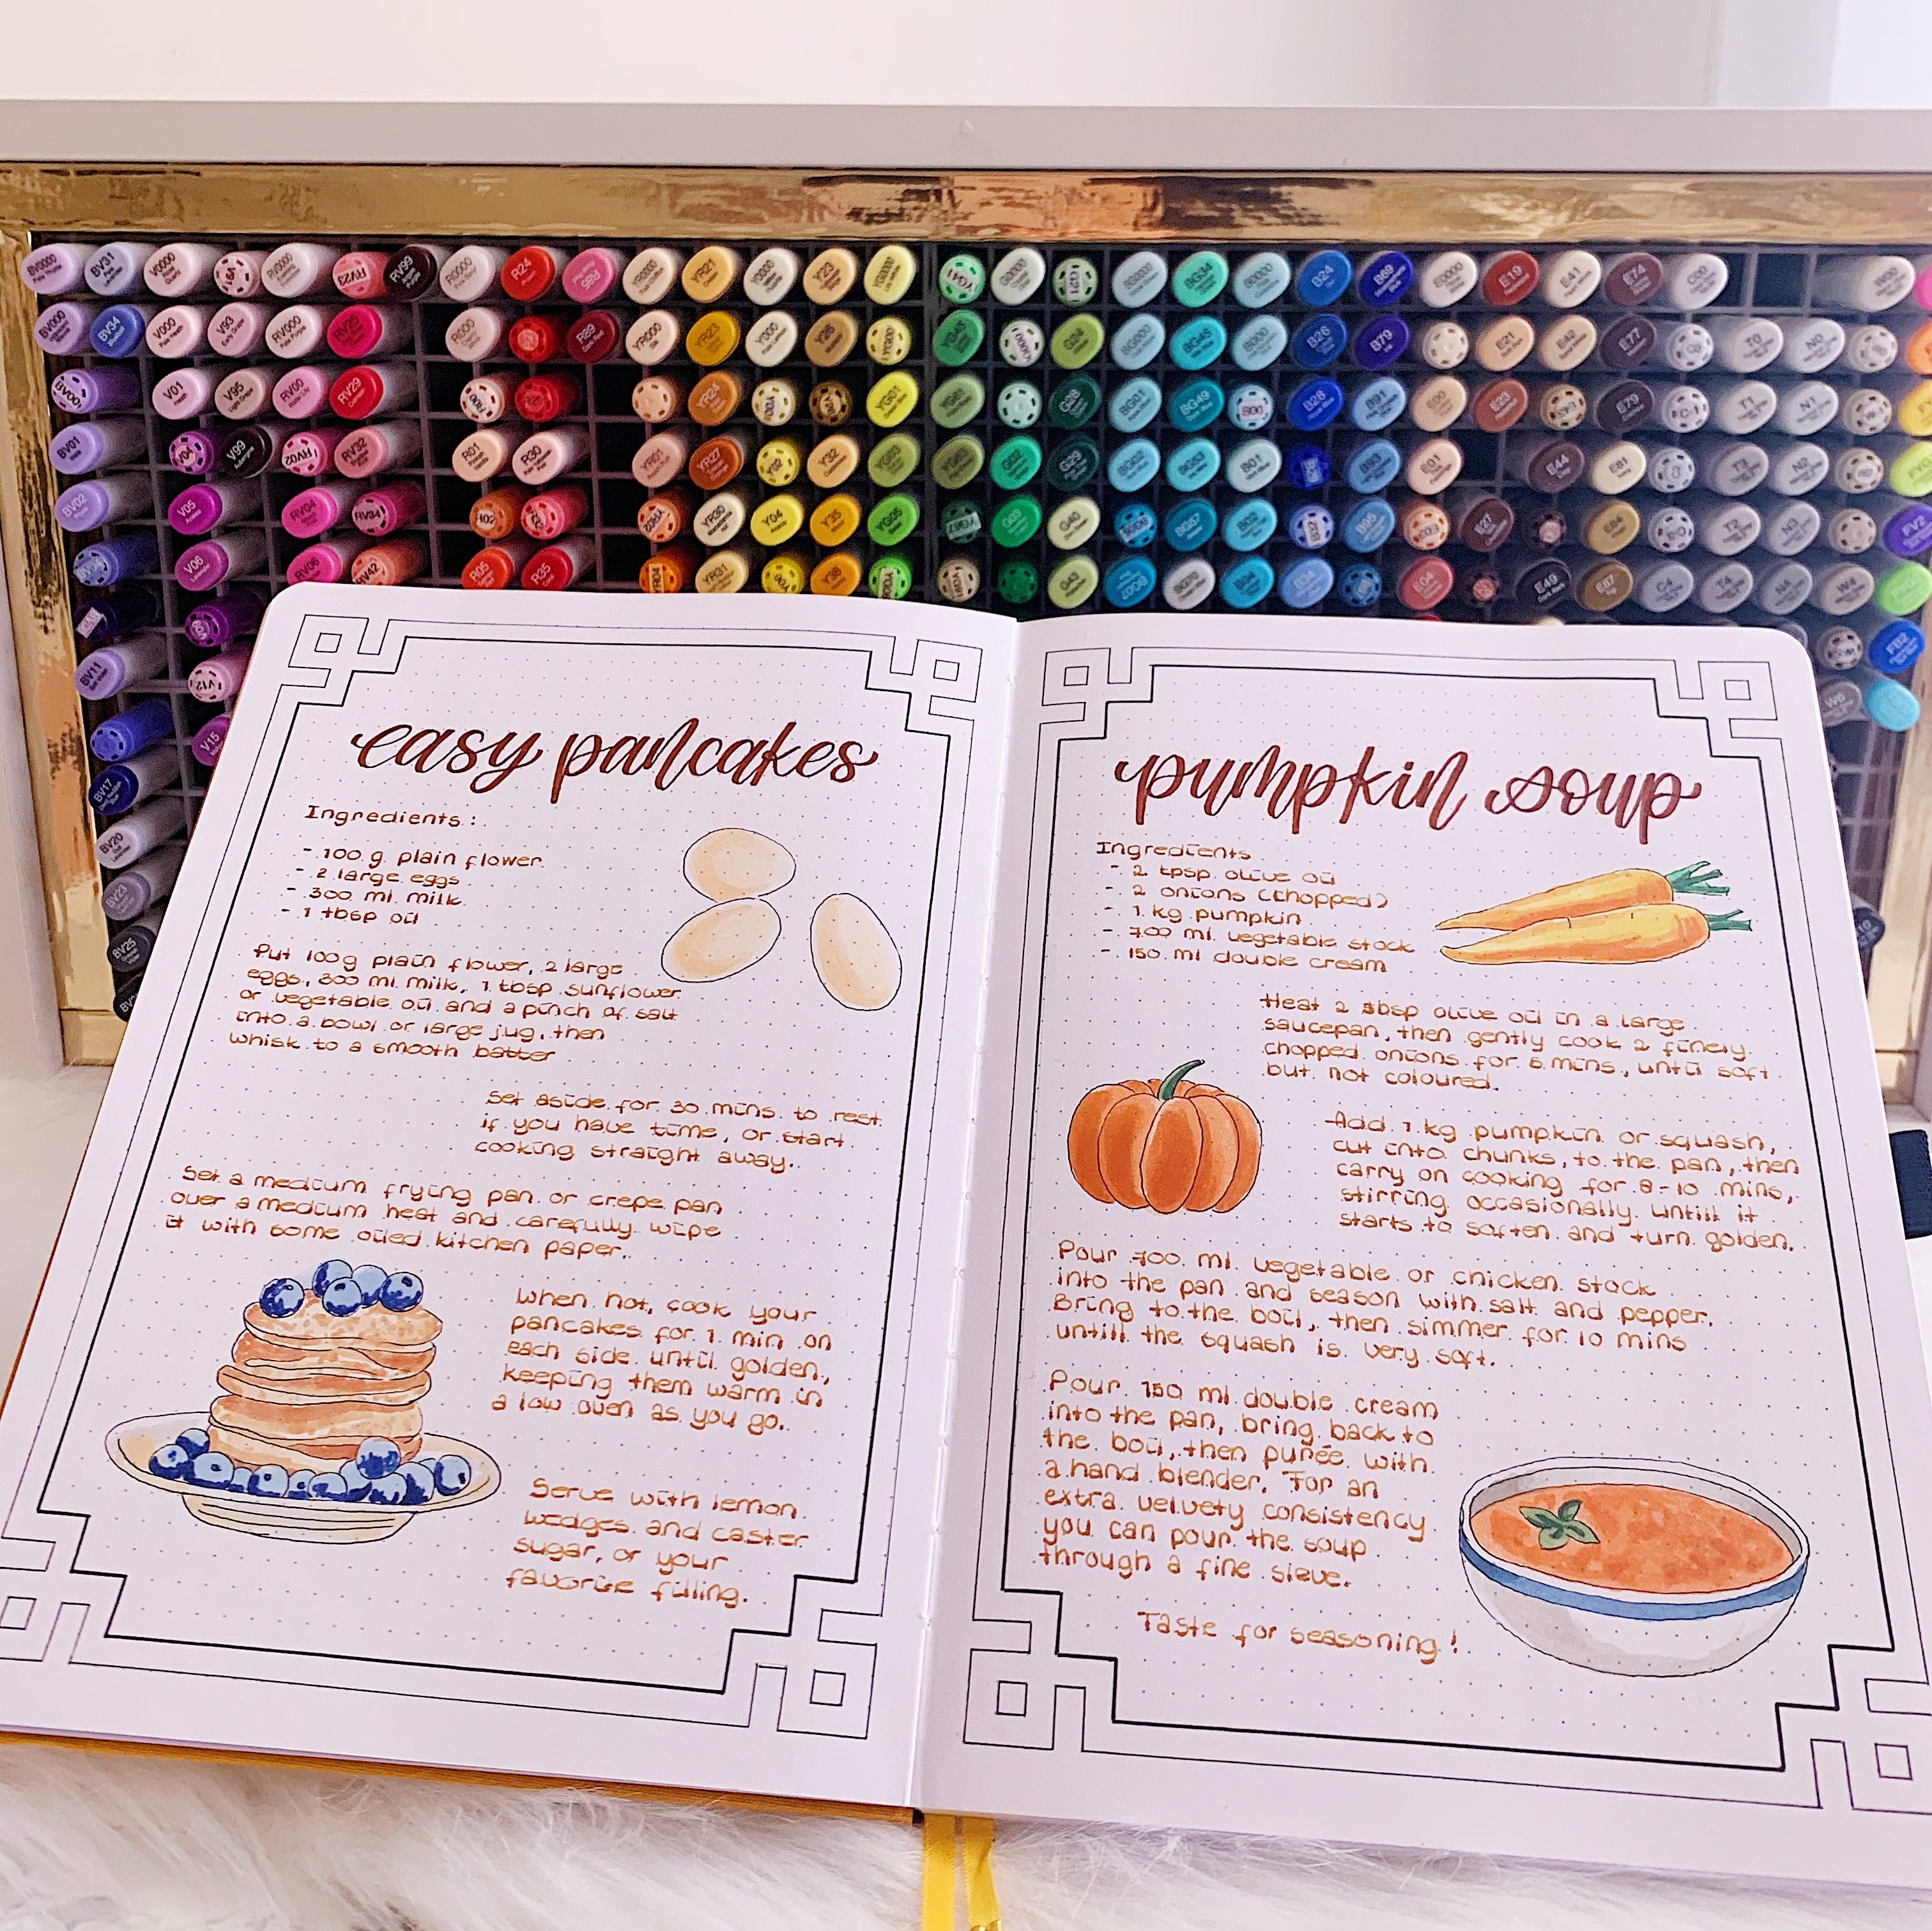
I’ve decided to use one of my notebooks as a recipe journal! I’m going to start illustrating some of my favorite recipes, recipes to try out, recipes I have tried out, and so on - the ideas are pretty endless!
To start off, I’ve created a fun illustration for my absolute favourite summer drink - strawberry lemonade!
Here’s a list of supplies I used:
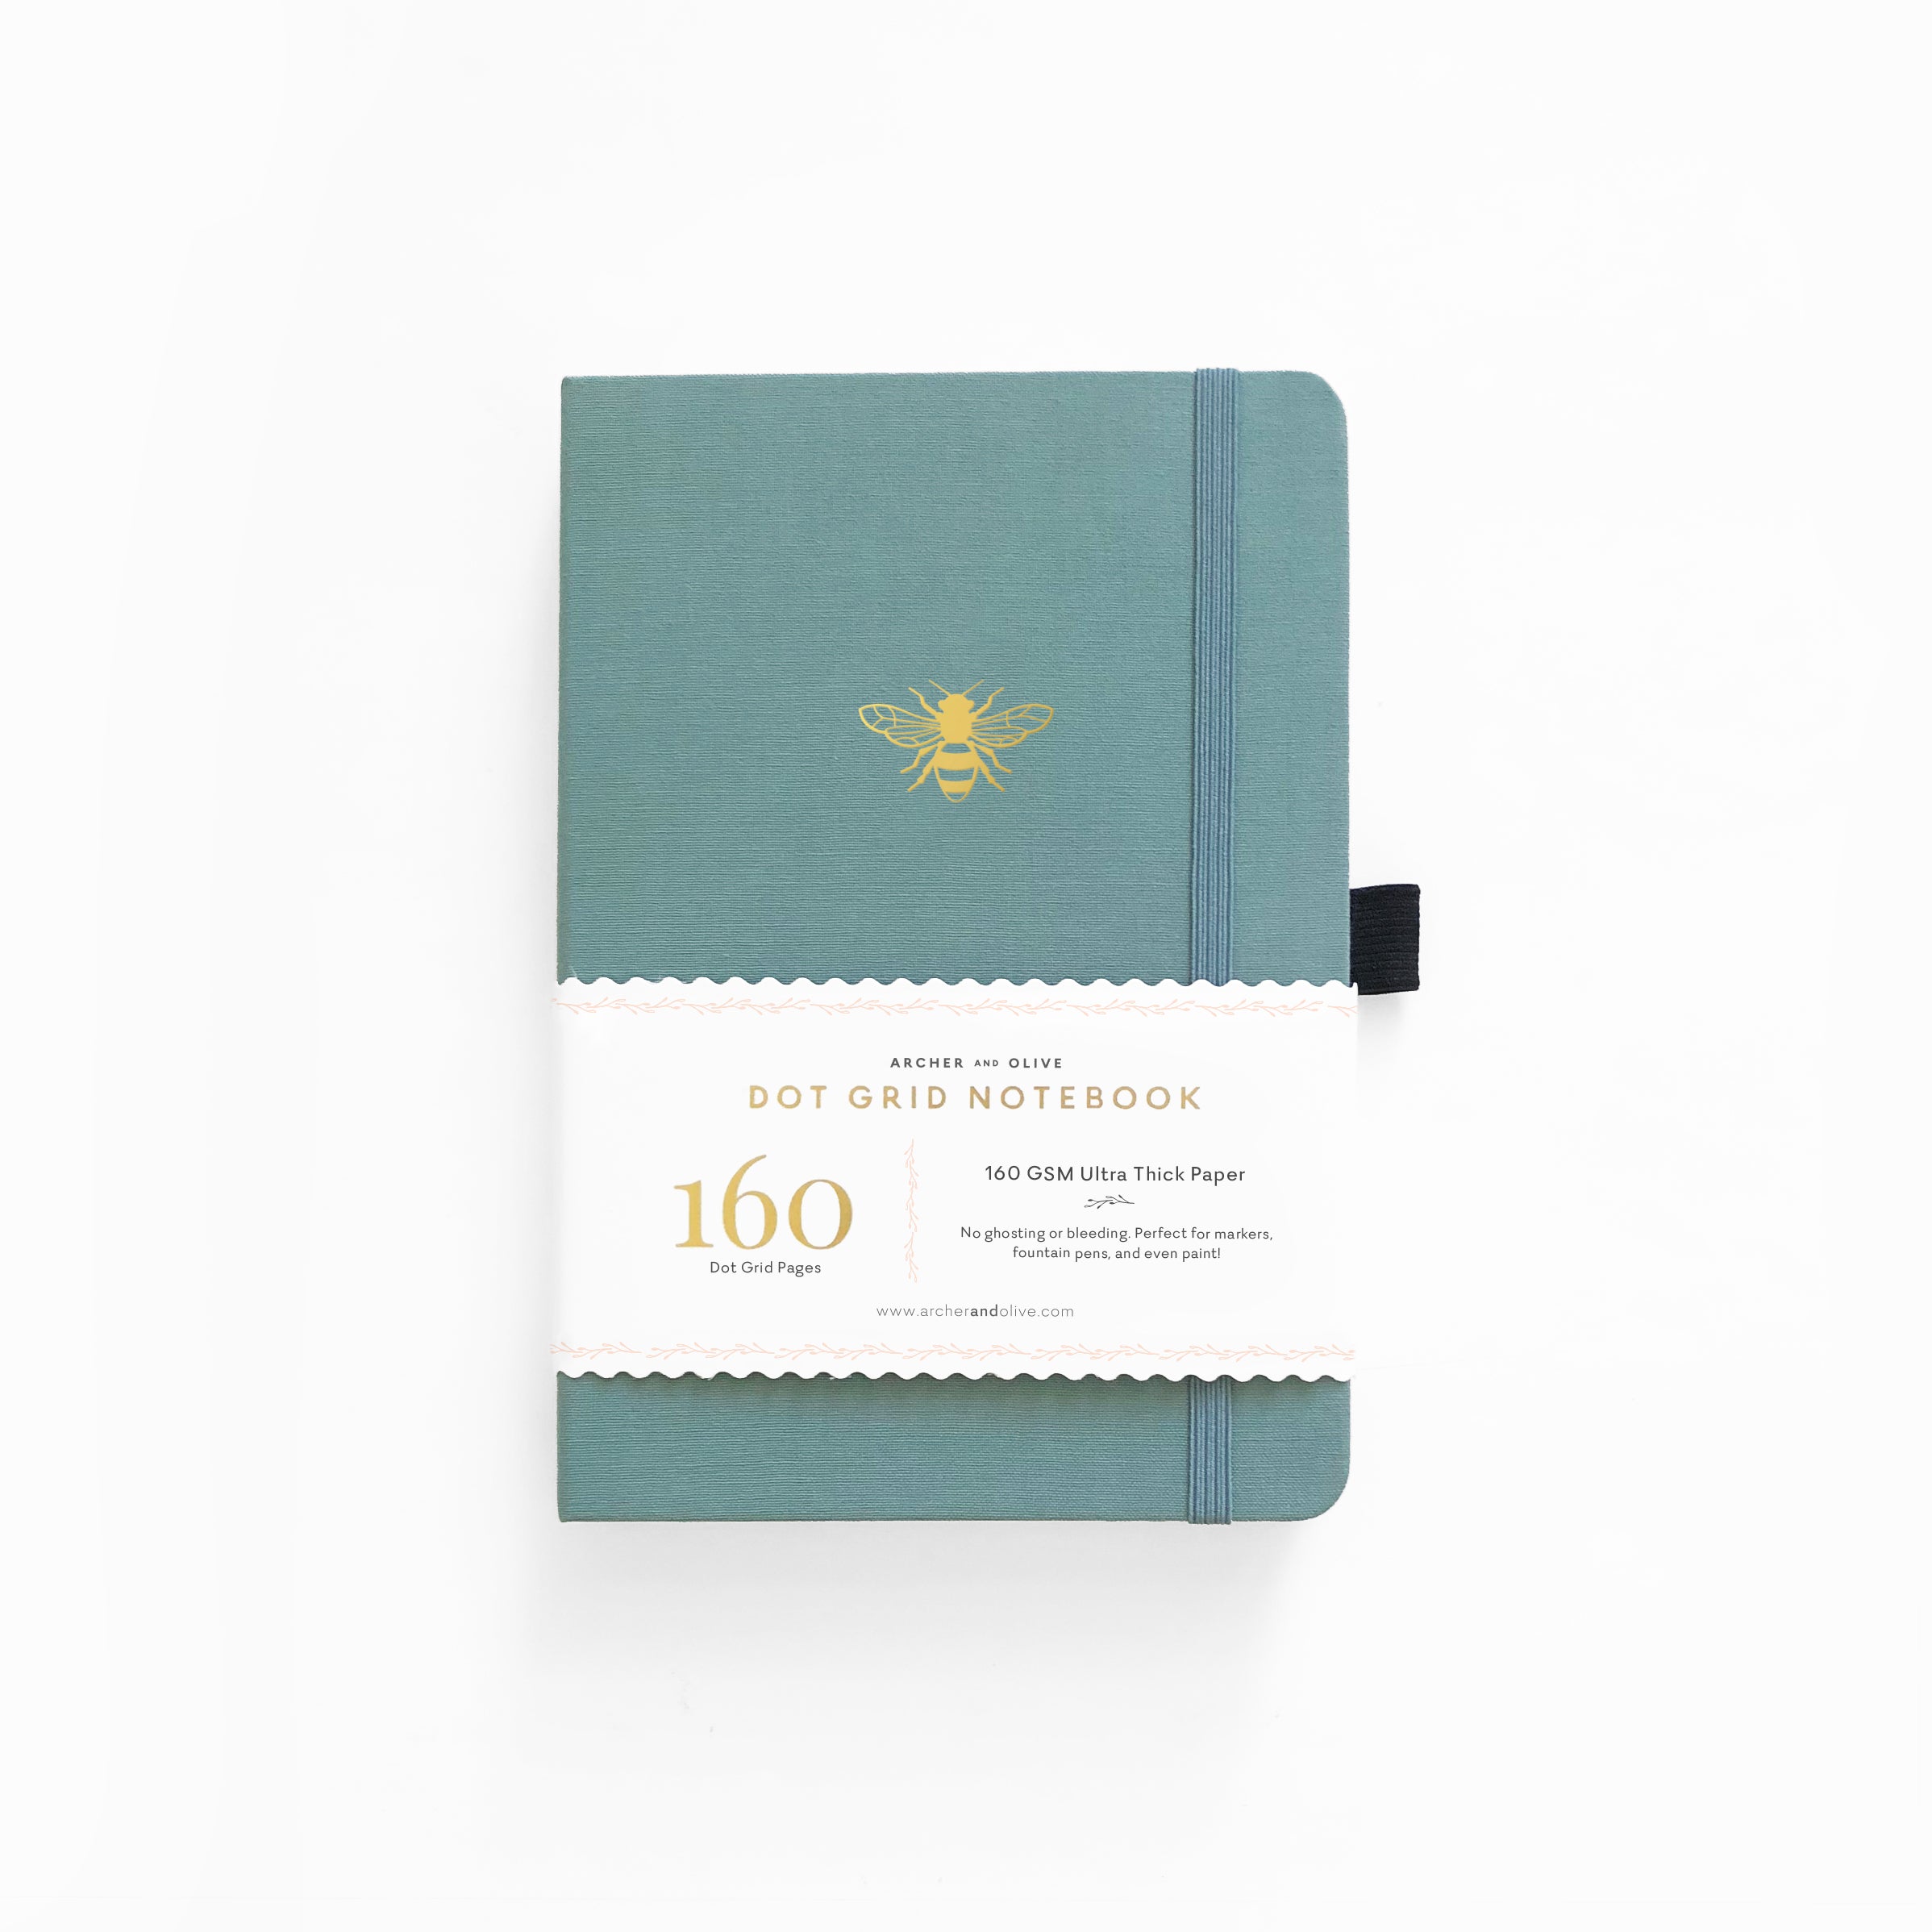
Notebook - I’m using the Archer & Olive A5 Dot Grid (You can use code WHIMSICAL10 on your purchase!)
Pencil and Eraser
Acrylograph Pens - I used colours from all 3 sets but you could use any colors you like!
Kraft paper and washi tape
White Gelly Roll pen
Black fineliner
Follow along with this post and video for ideas on how to set up your own recipe illustrations.
Video Tutorial:
Step 1 - Gather your supplies
Gather all your supplies! If you’re using the Acrylographs, “activate” each of the pens before you get down to coloring in. This helps since you don’t need to pause each time you need to activate a new color.
Step 2 - Start by sketching
Using a pencil, sketch out your doodles and illustration elements. Check out Masha’s wonderful tutorial on doodling Fruits and Vegetables - this will come in handy when illustrating ingredients!
Step 3 - Colour in!
If your pencil markings are too dark, lightly erase until the lines are faint. Now start colouring in! I mostly used colours from the Jewel Acrylograph set for these illustrations. The lemon is where I used markers from the other Acrylograph sets. These pens are a total joy to work with! I used the 3mm size to colour in these pieces.
Step 4 - Add details
Go over the illustrations with a black pen and add in little details. I also used the white Acrylograph to add little highlights where needed! I then added in a little piece of kraft paper and this is where the recipe directions went! I used washi tapes to tape in this kraft paper piece.
Step 5 - Final header!
And finally, add in a header and you’re done! I'd love to see if you decide to illustrate your own recipe! Tag me on Instagram @whimsical.doodles so I can see it!

Life By Whitney

How To Make Baking Bullet Journal Online
How To Make A Recipe Bullet Journal + FREE Recipe Card Printable

38 Papa kochbuch-Ideen kochbuch selber machen, kochbuch ideen
Recipe Illustration In Your Bullet Journal Using Acrylograph Pens

Acrylograph Pens First Impressions and Review Sponsored by Archer and Olive

Acrylograph Pen Review and August Bullet Journal Set Up
Recipe Journal Inspo + FREE Fruits & Veggies Printable

Blog– Translation missing: en.general.meta.page– Archer and Olive

Blog– Translation missing: en.general.meta.page– Archer and Olive
Blog– Translation missing: en.general.meta.page– Archer and Olive
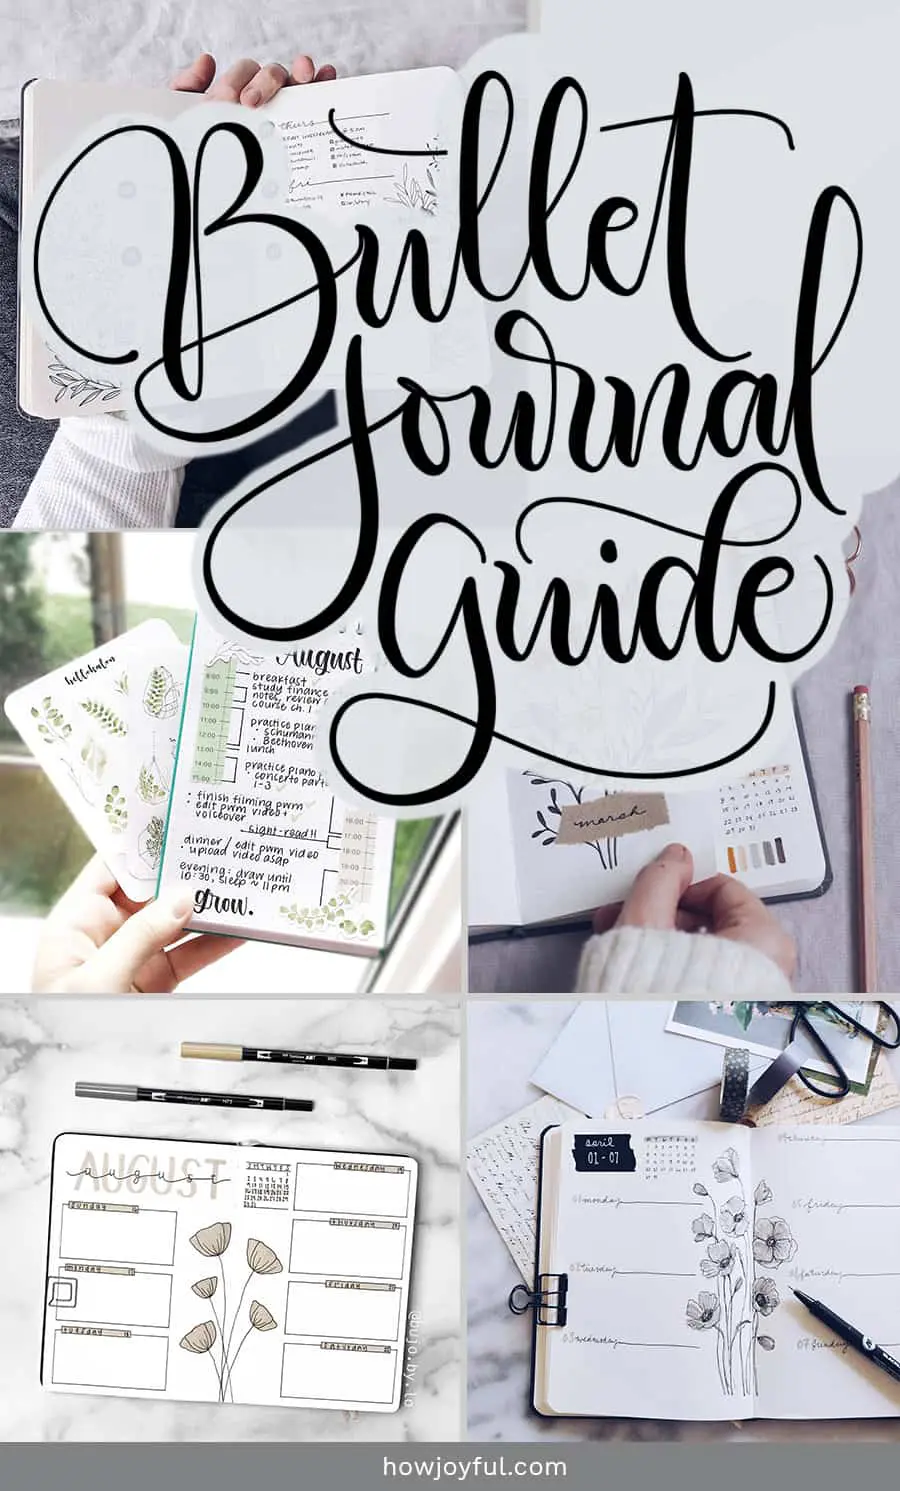
Bullet Journal: The Definitive Guide for beginners (in 2024)
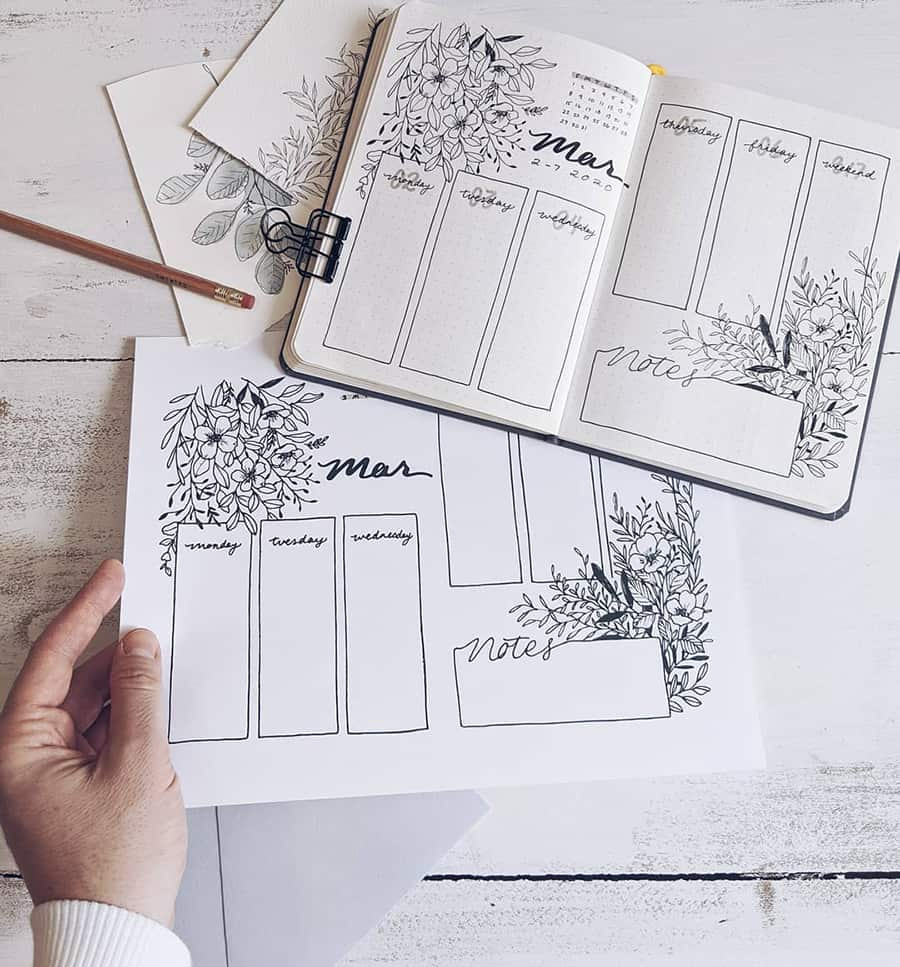
Bullet Journal: The Definitive Guide for beginners (in 2024)