Lace It Up Starter Kit
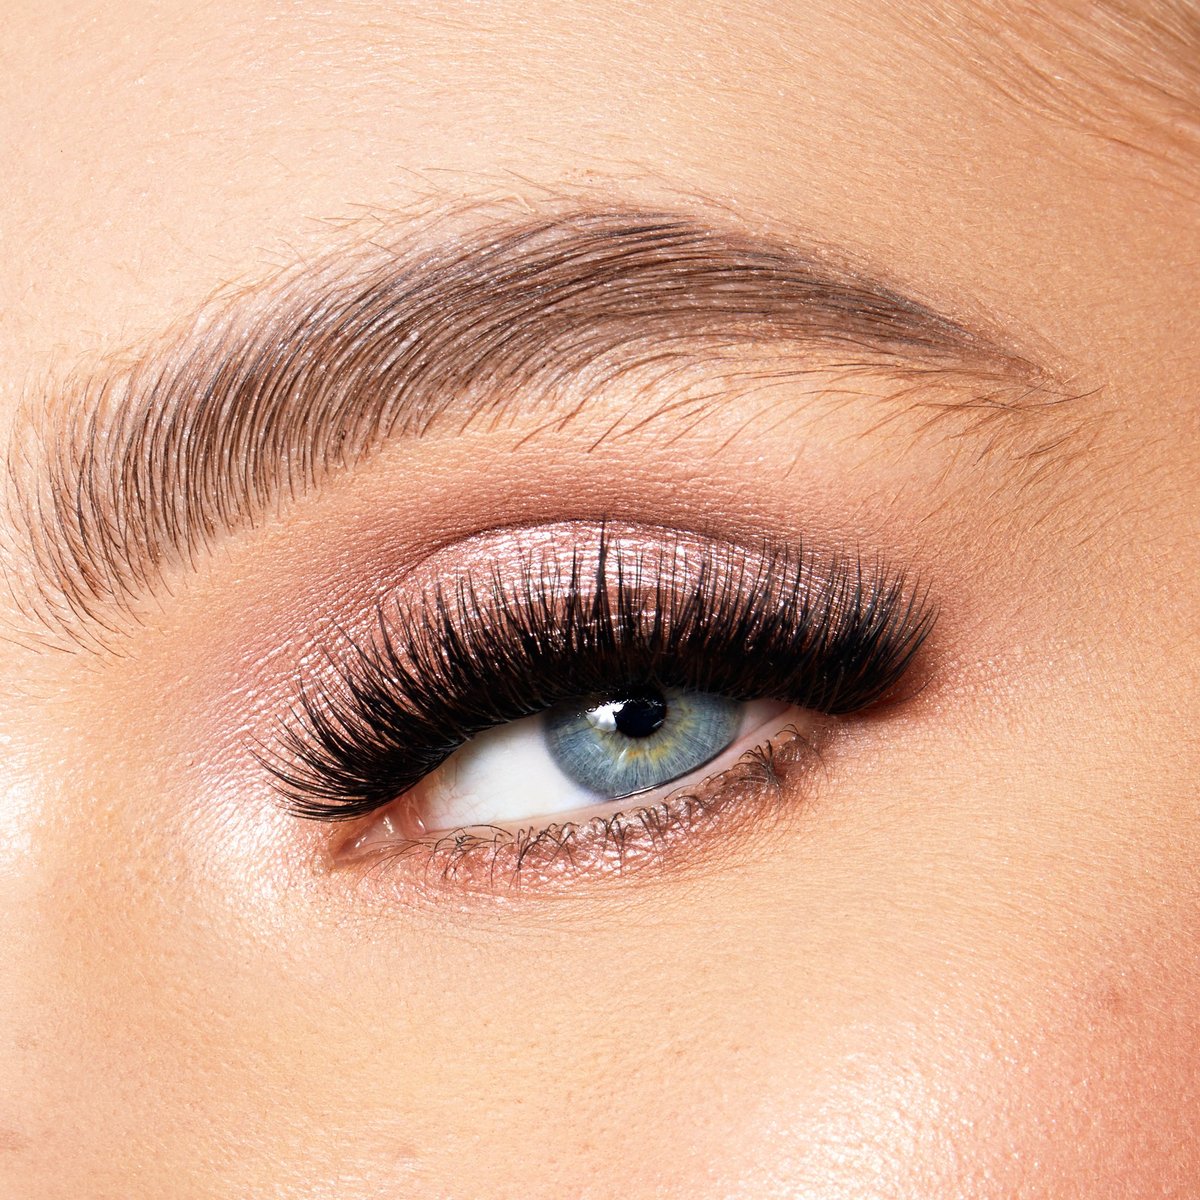
Everything you need in one place to start Lacing It Up! If it
Everything you need in one place to start Lacing It Up! If it's your first time with our sexy little secret, this kit is a must to get the most out of application and extra long-wear. Lace It Up Lashes and tools work as a system to bring you the fluffiest, fullest look you can get with under-lash application for DIY lash extensions at home. Their soft cotton-covered band ensures that you don't even feel them during wear, and provide a multi-layer texture for the look of professional lash extensions! Our superior Duo glue applies like a mascara for you to attach these lashes where they will be most comfortable and least noticeable - under your lash line. The no-nonsense applicator has the perfect curve to follow the shape of your eyelid and is comfortable to use with an easy-squeeze grip that bonds your lashes together in seconds. Lashes that last for days with a bandless look that rival real extensions? Don't worry, we won't tell - it can be your secret now, too! All Kits include: Curved Lash Applicator Precision Bond Duo Lash Adhesive One tray Lace It Up Lashes (choice of three size below) Short Kit Includes: 1 D curl 8-10-12mmMedium Kit Includes: 1 D curl 10-12-14mmLong Kit Includes: 1 D curl 12-14-16mm ApplicationStep 1 / beginBegin with fresh, clean lashes. Apply one coat of the Lash Bonder under your top lashes as you would apply mascara, focusing on the base of the lashes. Using your Lash Applicator, pick up one Lace it Up segment. Step 2 / applyApply by placing it on the underside of your eyelashes. Work your way across your lashes, making sure to keep each segment just above your waterline. Do your best to keep them aligned so there are no gaps between each cluster. For a fuller, more dramatic lash line, apply a second layer of lashes to the top of the lash line, sandwiching your natural lashes between two layers of Lace It Up segments. Before applying the second layer, apply a thin layer of clear adhesive to the bottom of the lash segment for extra staying power. Step 3 / clampWhen your lashes are placed to perfection, gently but firmly clamp your eyelashes and segments together, holding for a few seconds in each area to set your look. REMOVALTo remove lashes, gently pull the band of each lash segment away from your natural lashes with your fingertips or applicator. If it doesn’t easily detach, add micellar waterproof makeup remover to a cotton swab and gently swipe from the base of the lashes to the tips to loosen the adhesive and lashes. To remove additional residue, use a lint-free pad with a small amount of micellar water and gently swipe along the lash line. Lashes may be reused multiple times with proper care.

Stampin Up Promotions Archives - Lynn Dunn - Stamptastic Designs
Everything you need in one place to start Lacing It Up! If it's your first time with our sexy little secret, this kit is a must to get the most out of

Lace it Up Vegan Segment Lashes Starter Kit

Lace it up lashes - LashBox LA UK
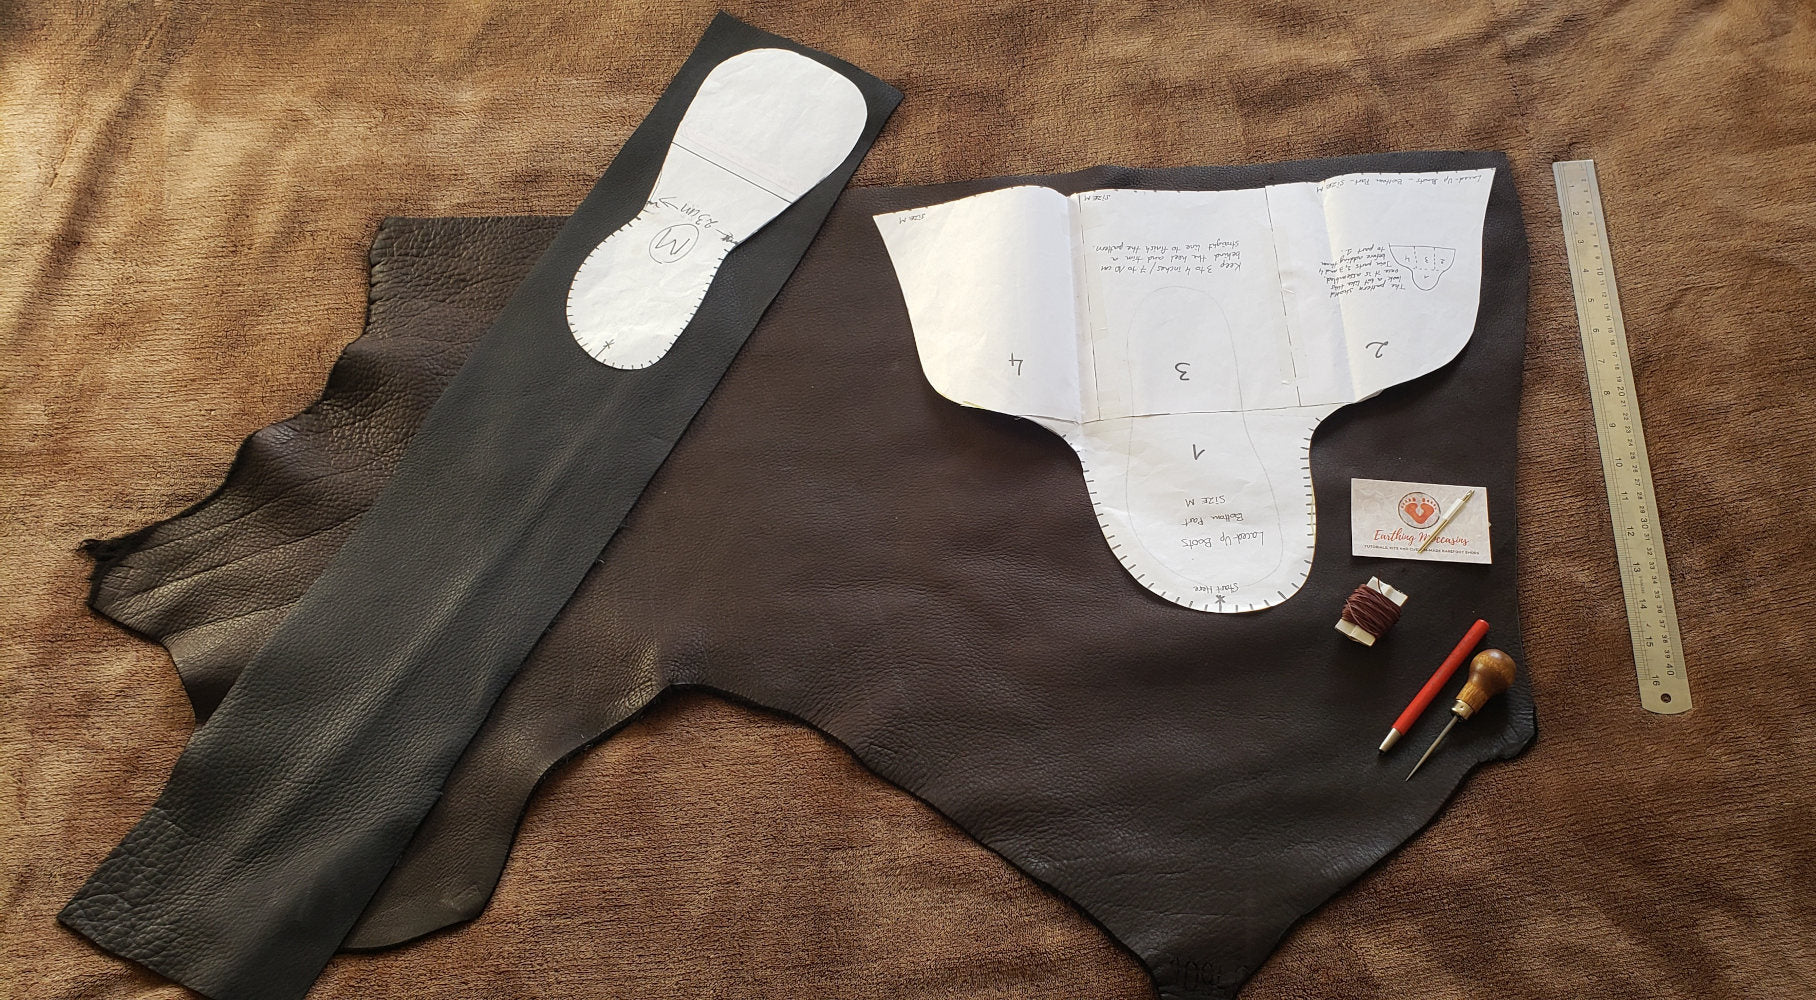
DIY Kit for The Laced-Up Boots – Earthingmoccasins

Our DIY easy to apply at home Lace It Up lashes are perfect for those
Transform your face in minutes with DIY Lace it Up Lashes - LBLA Cosmetics & Co

Pro Lace it Up Vegan Segment Lashes - LashBox LA Australia

Lace It Up Lashes - LashboxLA Canada

Break Up with Your Makeup Remover Mitts - LashBox LA UK

Coopay Crochet Kit Beginners Lace Crochet Hook Set with 20 Color Crochet Thread, 71PCS Crochet Set with Tiny Crochet Hooks Ergonomic Soft Grip, Travel Crochet Hook Case Full Knitting Crochet Supplies
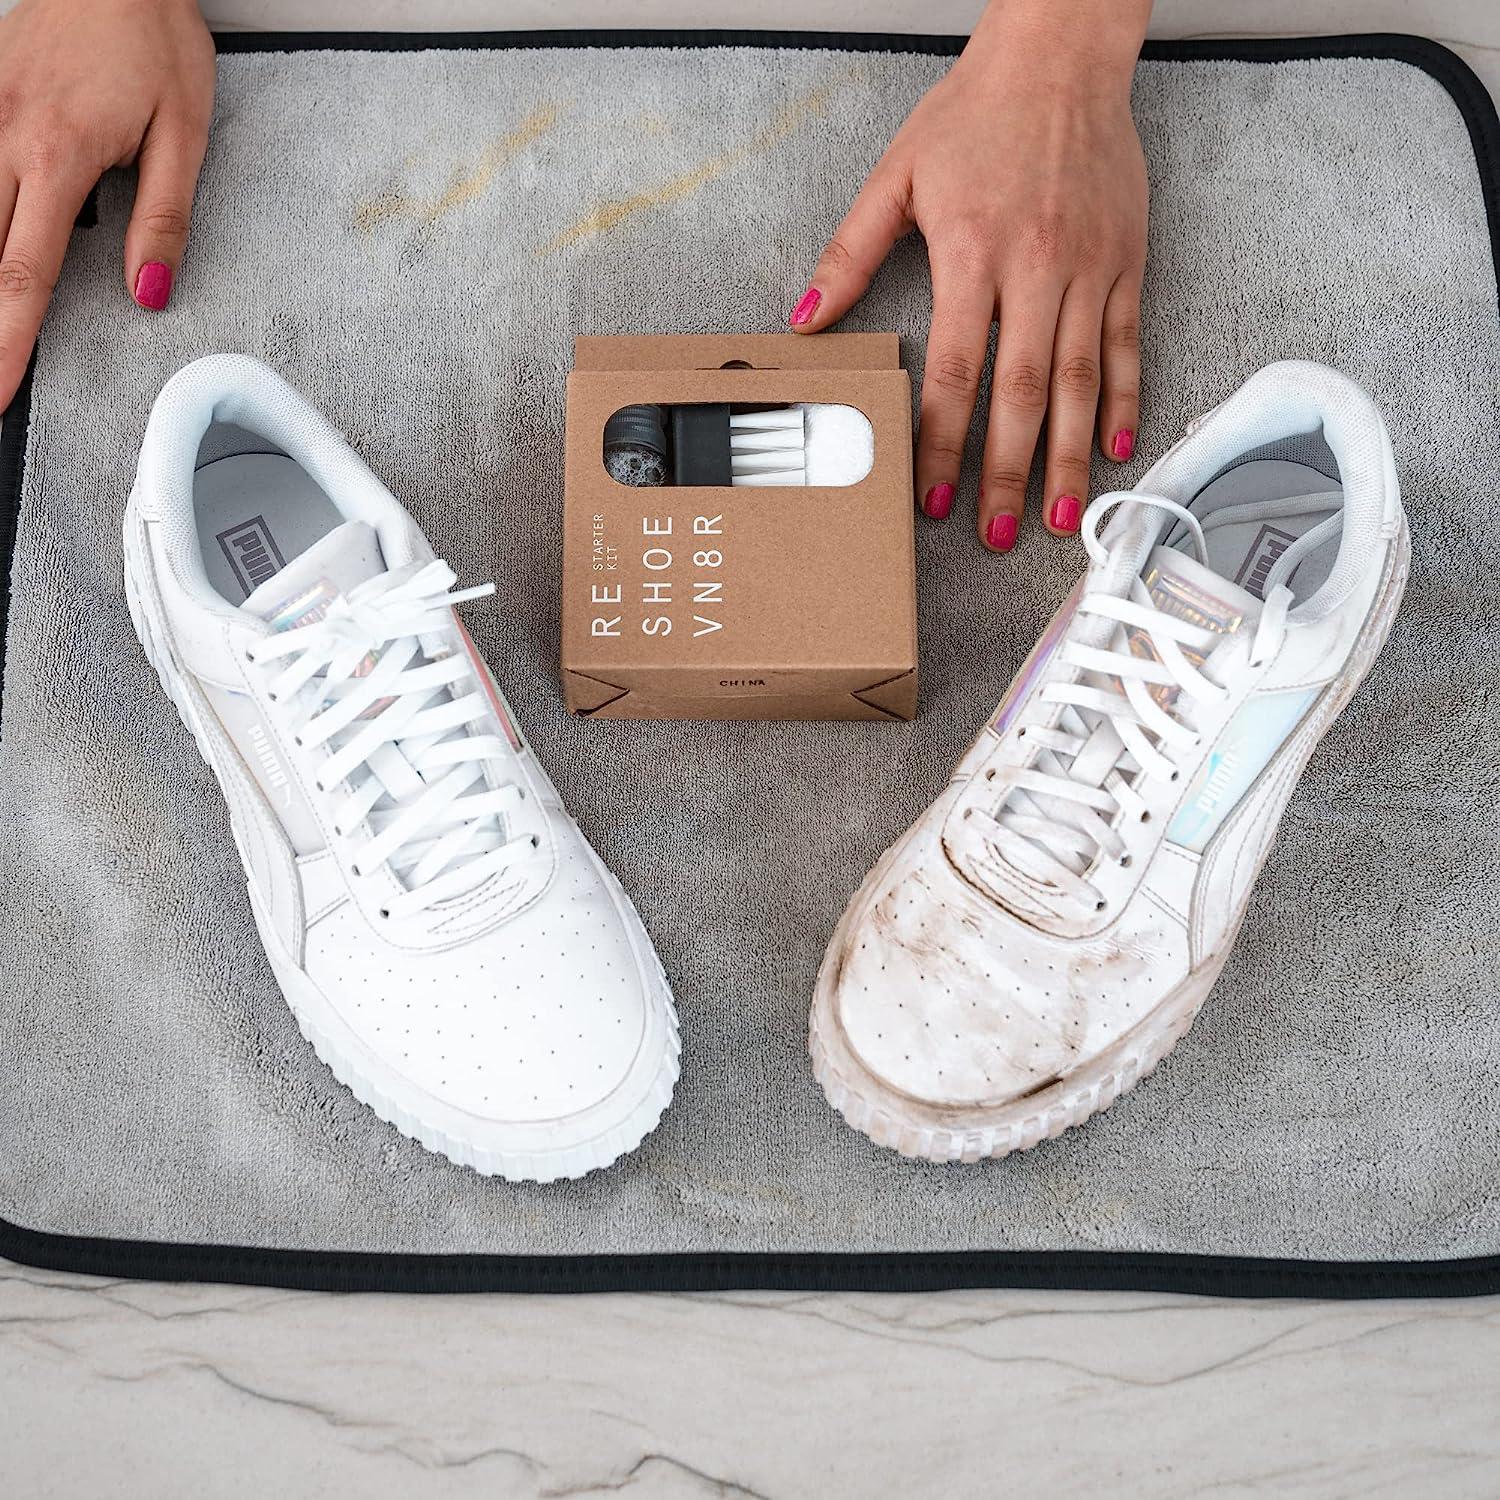
Reshoevn8r Shoe Cleaner White Leather Suede Mesh Sneaker Cleaning Starter Kit
💗 Lash like a pro with Lace it Up DIY Lash Extension 🦋 🦋 - LBLA Cosmetics & Co
Lace It Up Lashes - LashBox LA Australia

Deluxe Starter/Travel Kit – Lilac St.

Green Lace Dinner & Starter Plates (Set of 8) – Mrs. Alice