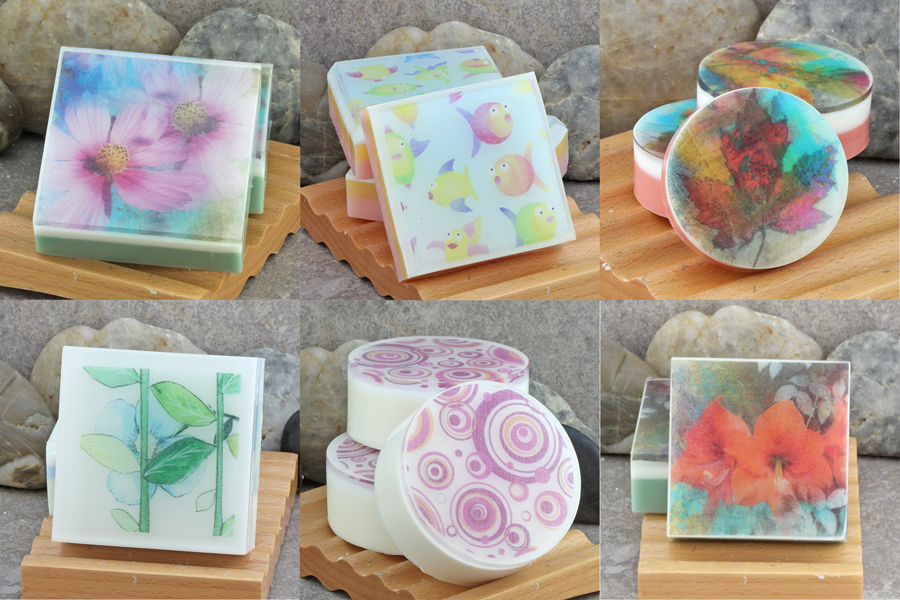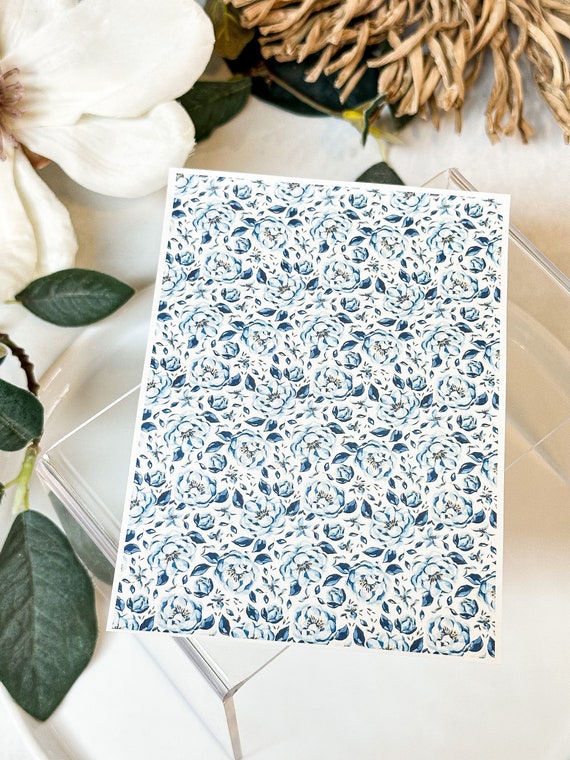
Transfer Paper Sheet 188 Blue Flowers Water Soluble Paper Sheets Image Transfer Paper Clay Tools Clay Earrings Making
This Image Transfers item by teraclaynl has 3 favorites from shoppers. Ships from The Netherlands. Listed on Jan 12, 2024
Size: ~13x10cm
Transfer Paper Instructions:
- Place transfer paper colorful side down on a slab of clay. We recommend white clay for the best results and the most accurate colors.
- Roll your acrylic roller over the transfer paper several times and make sure that the transfer paper is very well stuck to the clay and there are no air pockets.
Tip: place your roller in the middle of the transfer paper and then slowly but firmly roll it towards the end in both directions.
- Spray gently with water or run the entire slab under a gentle stream of water in your sink. Let it soak for about 5 minutes and run under the faucet with a gentle stream. Using your fingers, gently brush off the paper until it dissolves completely. You will feel a smooth surface underneath when the paper is all gone.
- Let your slab dry for a couple of minutes, or gently use a paper towel to pat it dry.
- Cut and cure in your oven as usual. Keep in mind that the colors might change slightly while baking. In the case that there is some paper left after you take your pieces out of the oven, you can use a wet tissue to gently wipe the paper away.
- You don’t need to seal your clay pieces but you can do it for increased durability. We recommend resin for a glossy finish and DuraClear Ultra Matte for a matte look.

Using Water Soluble Paper for Image Transfers on Polymer Clay

How to make and use water soluble transfers on polymer clay
Water Soluble Transfer Paper for Polymer Clay Retro Image

Puocaon Polymer Clay Transfer Paper - 20 Pcs Image

Bold Blue Floral Polymer Clay Transfer Sheets, Waterless

Puocaon Floral Clay Transfer Paper - 4 Design 20 Pcs

Using Water Soluble Paper for Image Transfers on Polymer Clay

Puocaon Polymer Clay Transfer Paper - 20 Pcs Image

How to make and use water soluble transfers on polymer clay