Tutorial: How to sashiko stitch, part 1, transferring your sashiko des - A Threaded Needle
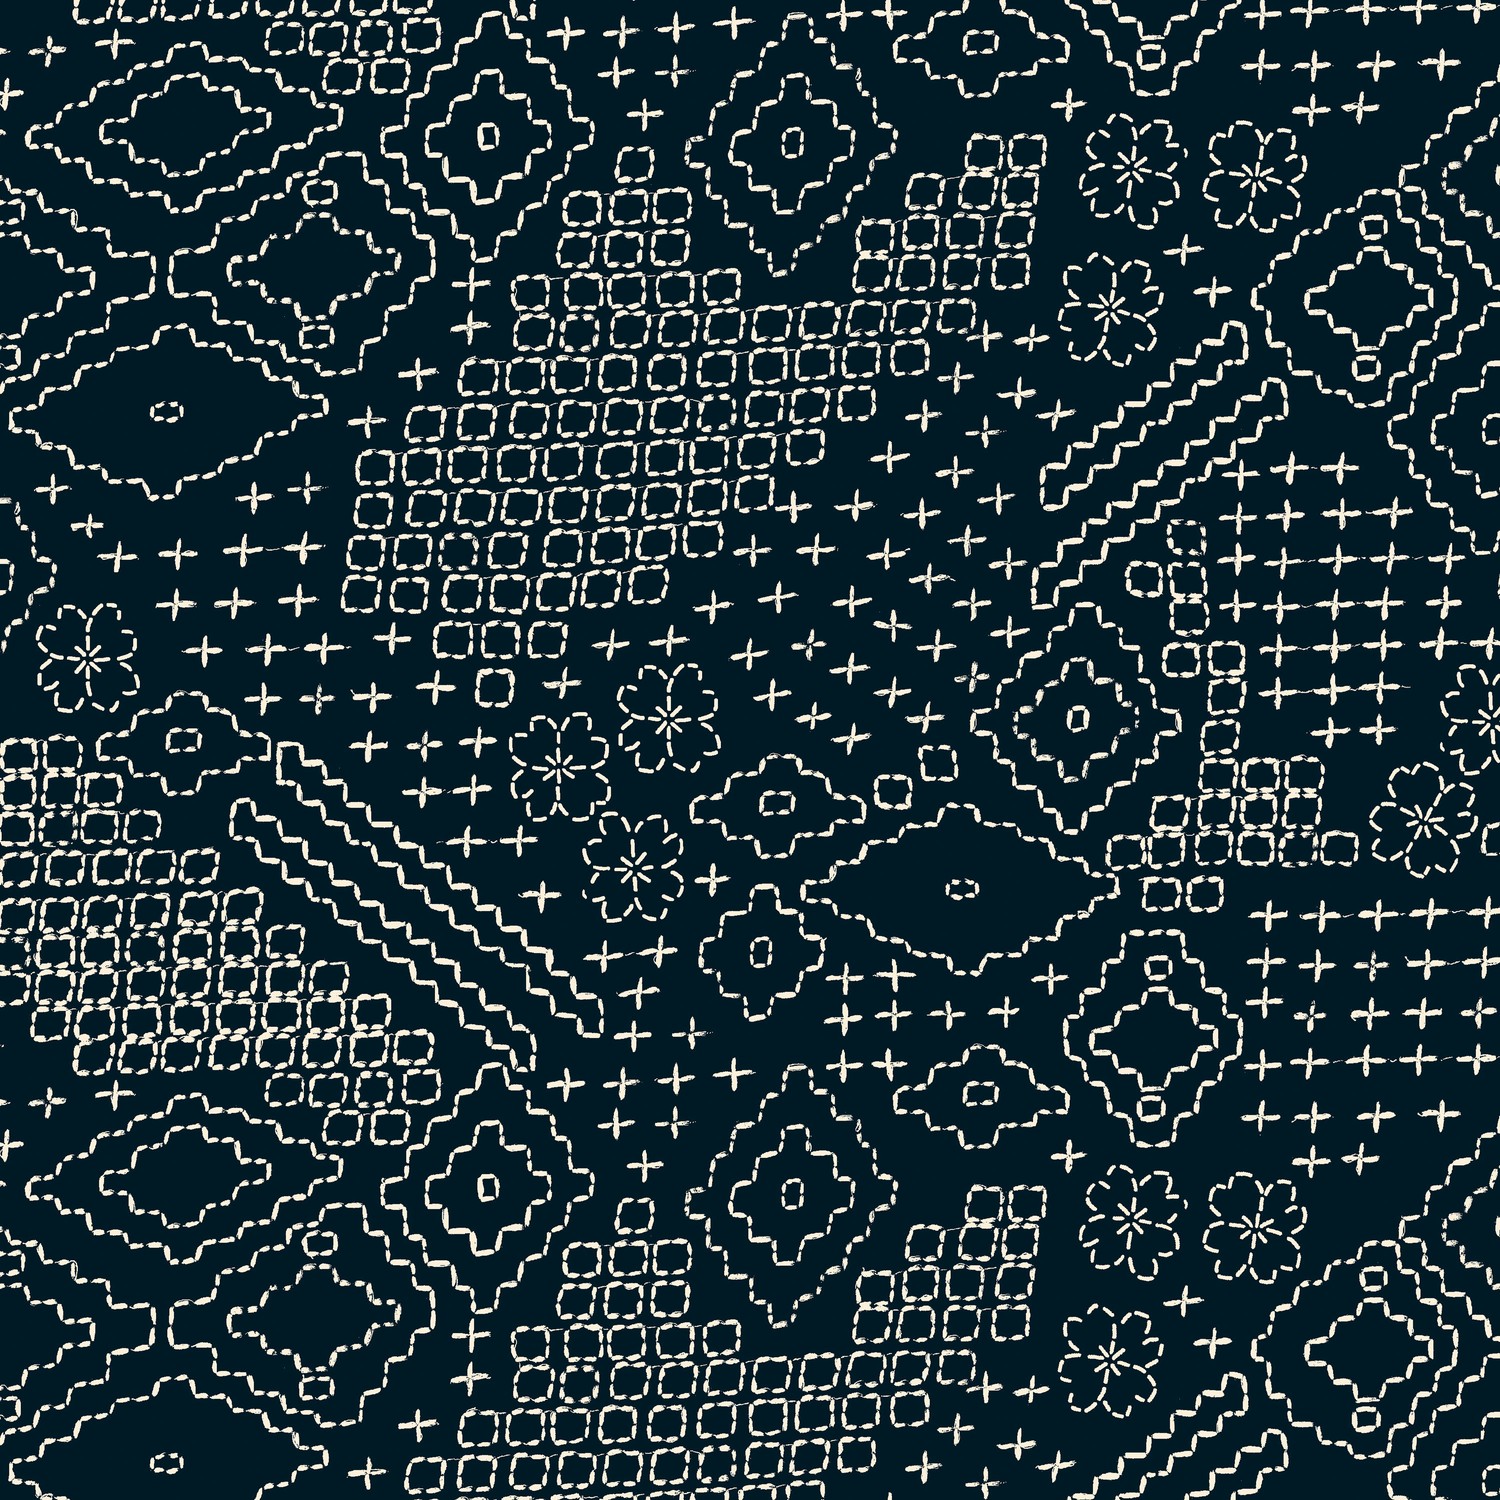
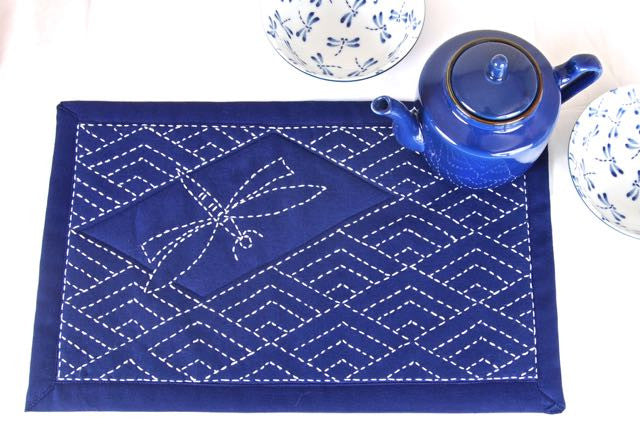
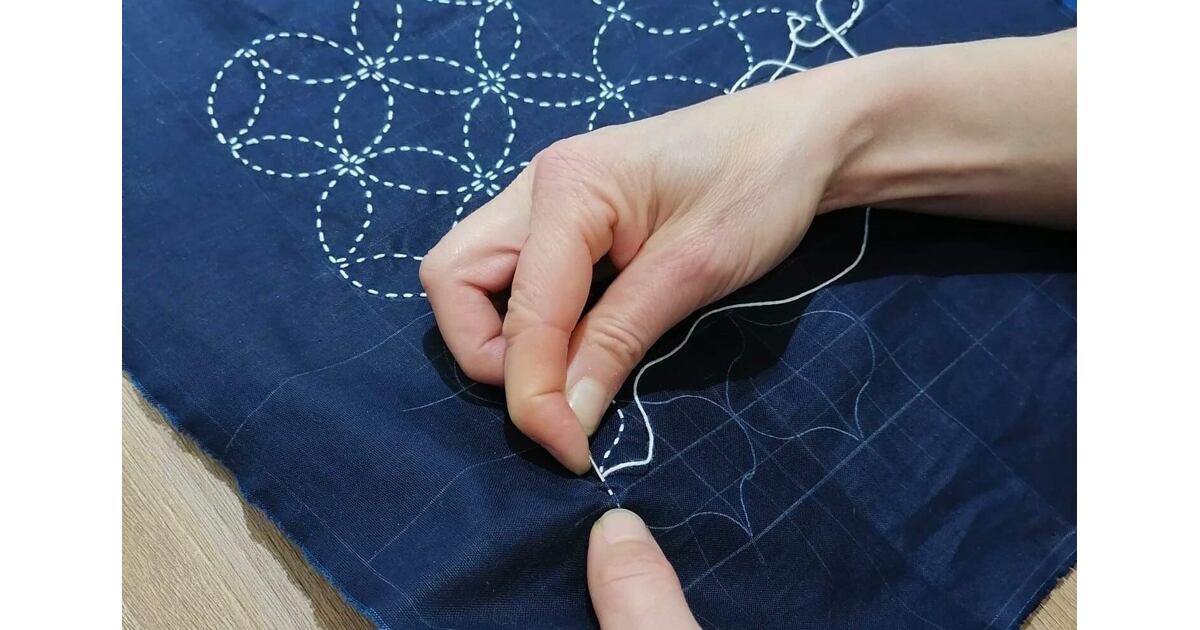
There are 4 parts to this tutorial. In an effort to make it easier to find these parts I'm putting the links for all 4 here, plus a link for if you are starting stitching with a pre-printed (wash out) Sashiko design. Part 2. Part 3. Part 4. Stitching pre-prints This is part 1 The first thing you need to do is to transfer a Sashiko design to a fabric. Gather your supplies. For Sashiko this is a pretty short list. Sashiko needle and Sashiko thread, a Sashiko design, some cotton or cotton/linen fabric, and for transferring the design, some featherweight fusible non woven white interfacing and a permanent ink fine tip pen. You can find all of this on this website. (You can buy a digital pdf of this pattern here if you would like to use this design) Before you

How to Start Sashiko A tutorial from Sashiko Artisans - Upcycle Stitches
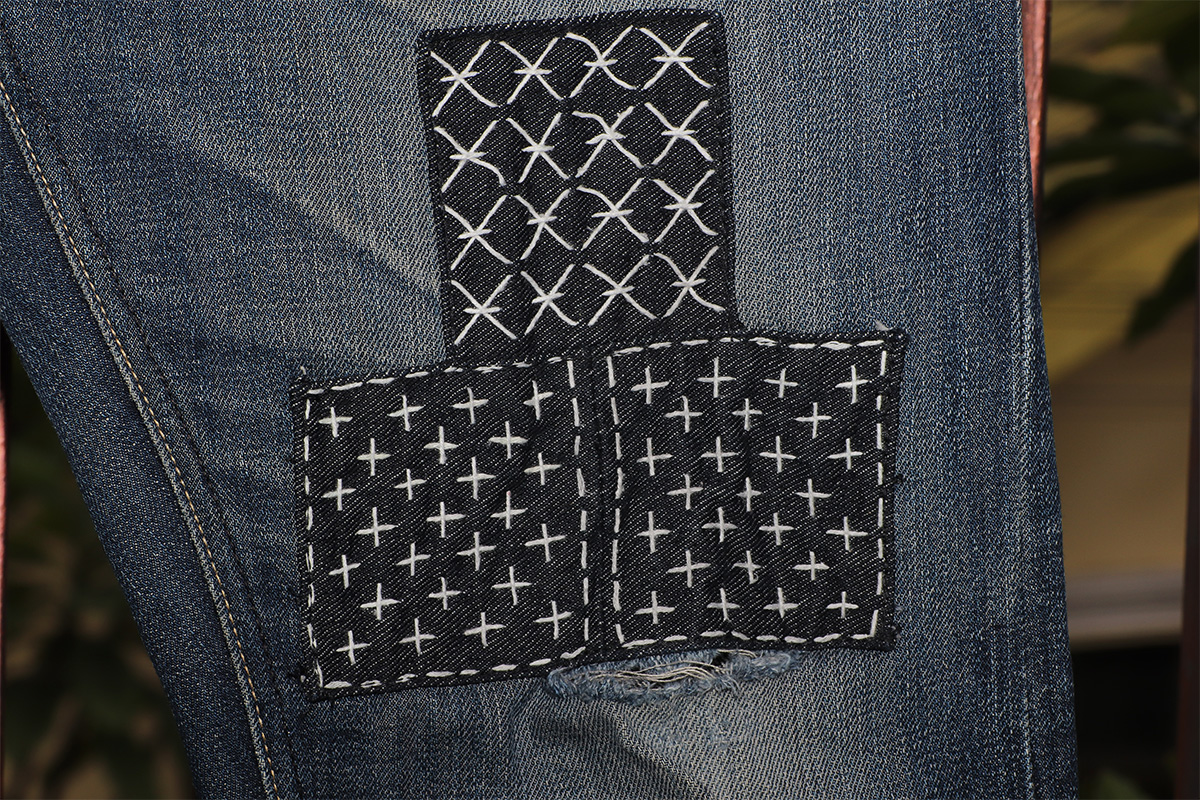
Sashiko stitching, the Japanese mending technique - SARTOR BOHEMIA

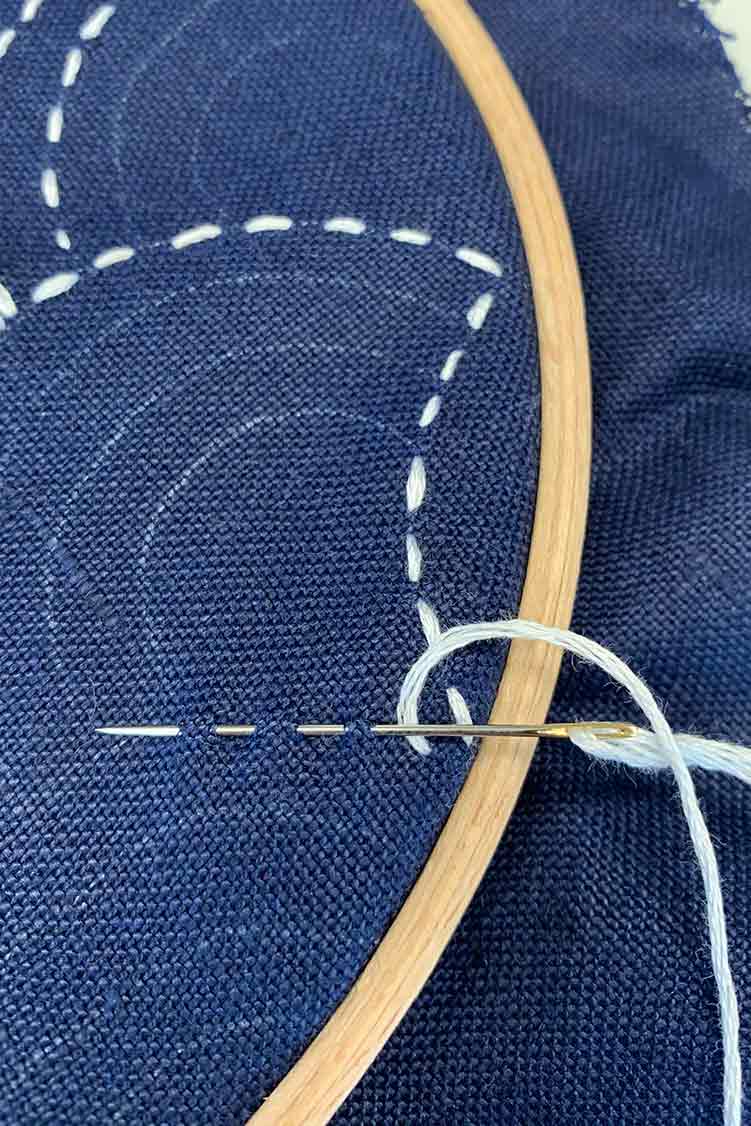
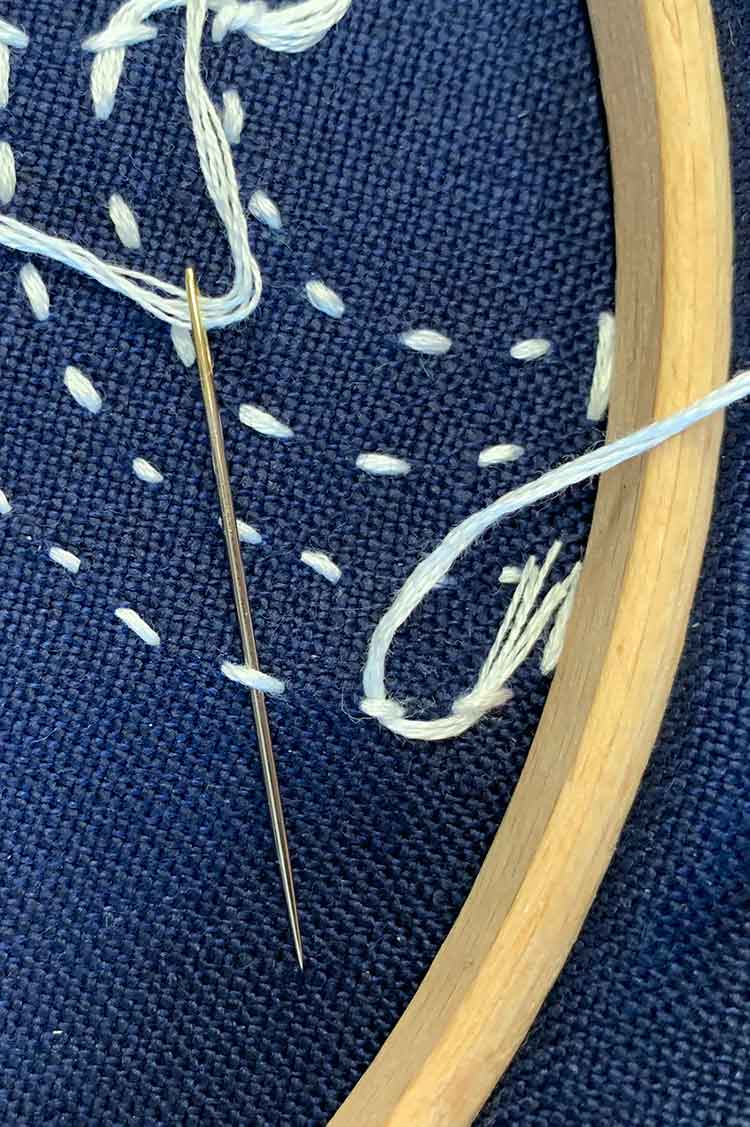
Tutorial: How to Sashiko Stitch, Part 2, beginning without a knot, dec - A Threaded Needle

Sashiko Tutorial – Saké Puppets

Sashiko Frequently Asked Questions - Upcycle Stitches

Sashiko Tutorial – Saké Puppets

How to Sashiko Stitch: A Step-by-Step Guide - Create Whimsy
How to Sashiko stitch for beginners

Sashiko Stitch with Brother Sewing Machine - How To - Patchwork Posse
Yes! You CAN Make A Loom Knit Sweater! GoodKnit Kisses, 48% OFF
How to Sashiko stitch for beginners

Beginner's Guide to Sashiko Supplies: Essential Tools for Japanese Embroidery

Yes! You CAN Make A Loom Knit Sweater! GoodKnit Kisses, 48% OFF

Tutorial: How to Sashiko Stitch, Part 2, beginning without a knot, dec - A Threaded Needle

EASY EMBROIDERY TUTORIAL :: HOW TO THREAD A NEEDLE LIKE A PROFESSIONAL :: Quick & Easy